
The complete guide
How to Choose and Fit a Washing Machine Drain Hose
The problem nobody plans for
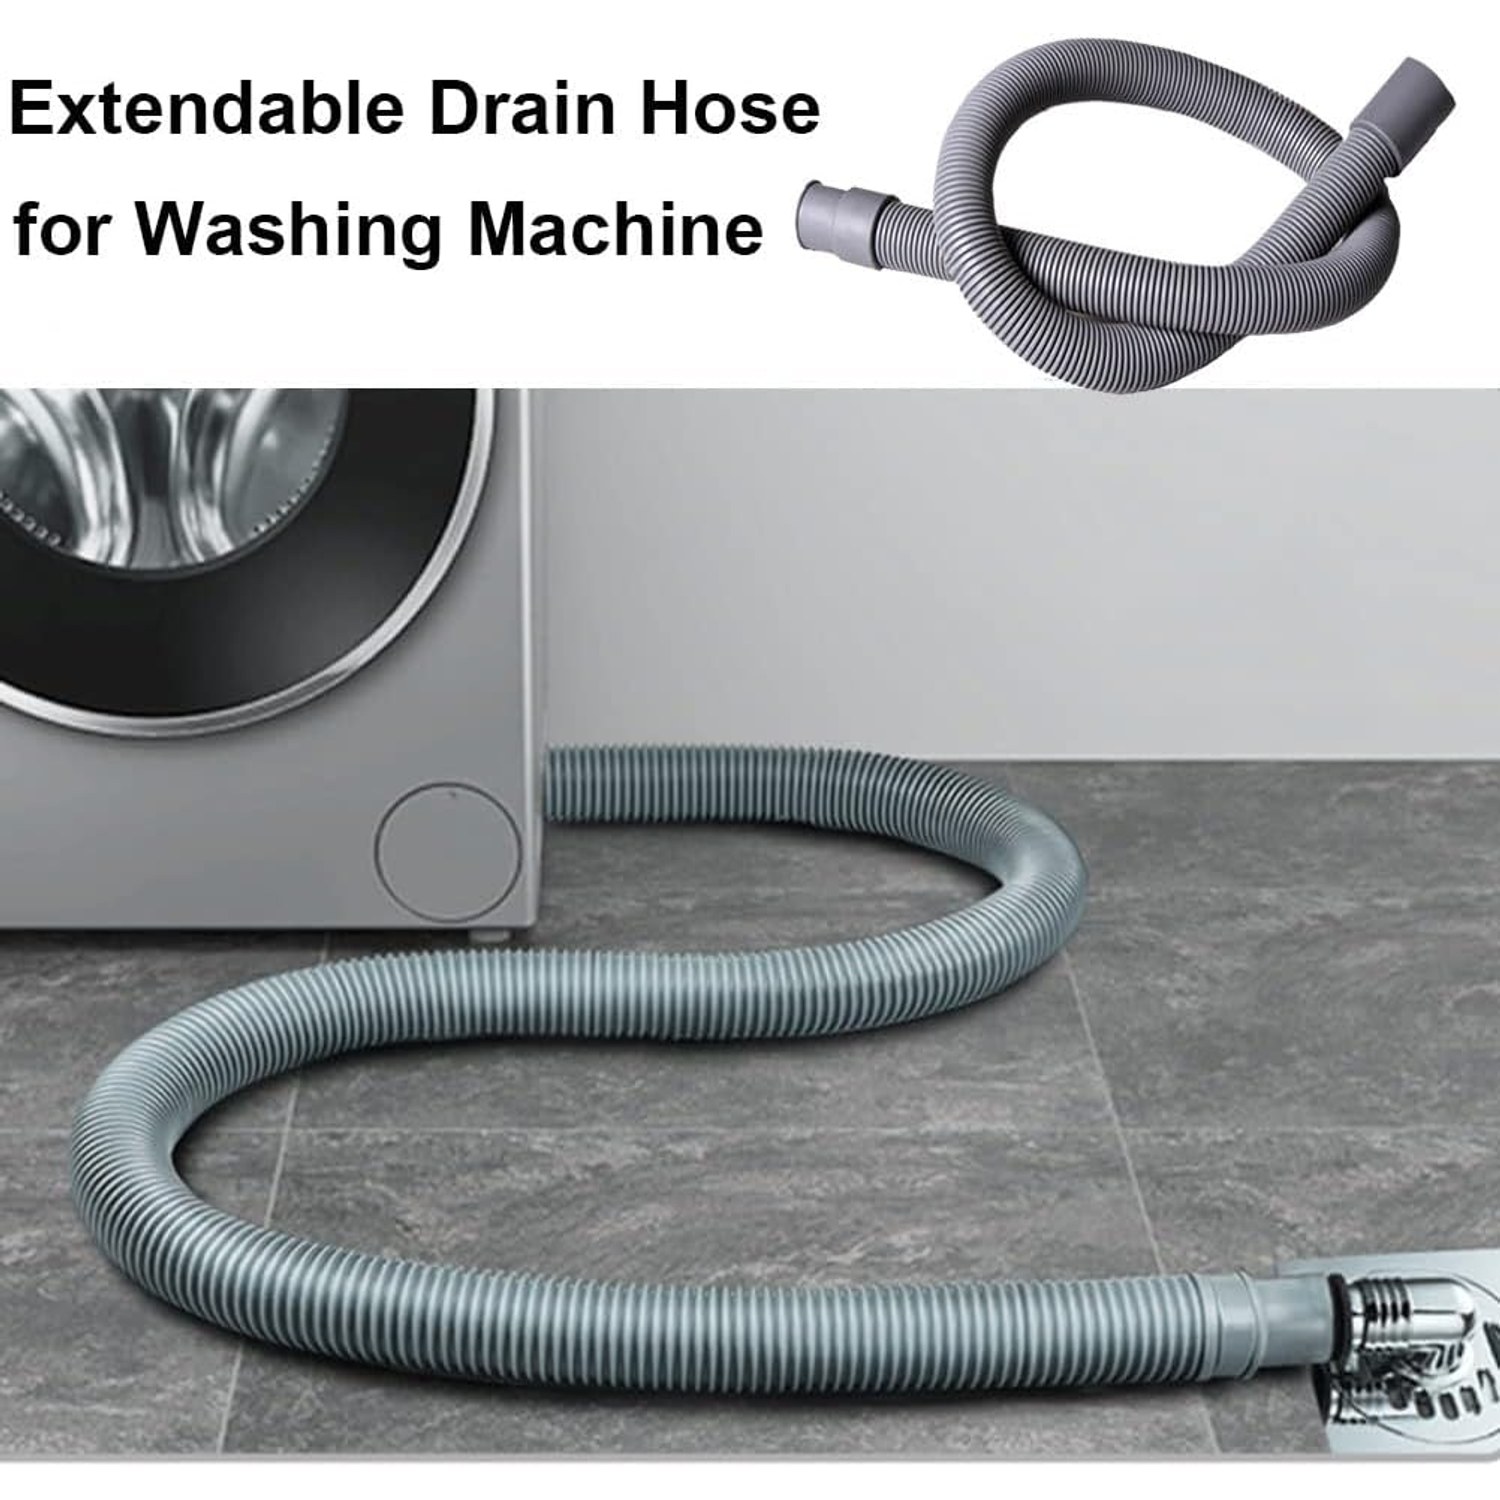
You buy a washing machine, get it home, slide it into the gap, and then discover the drain hose stops 40cm short of the standpipe. Or the machine has to live in a laundry cupboard around the corner from the tub. Or the original hose, after six or seven years of hot water and vibration, has gone stiff and started weeping at the join.
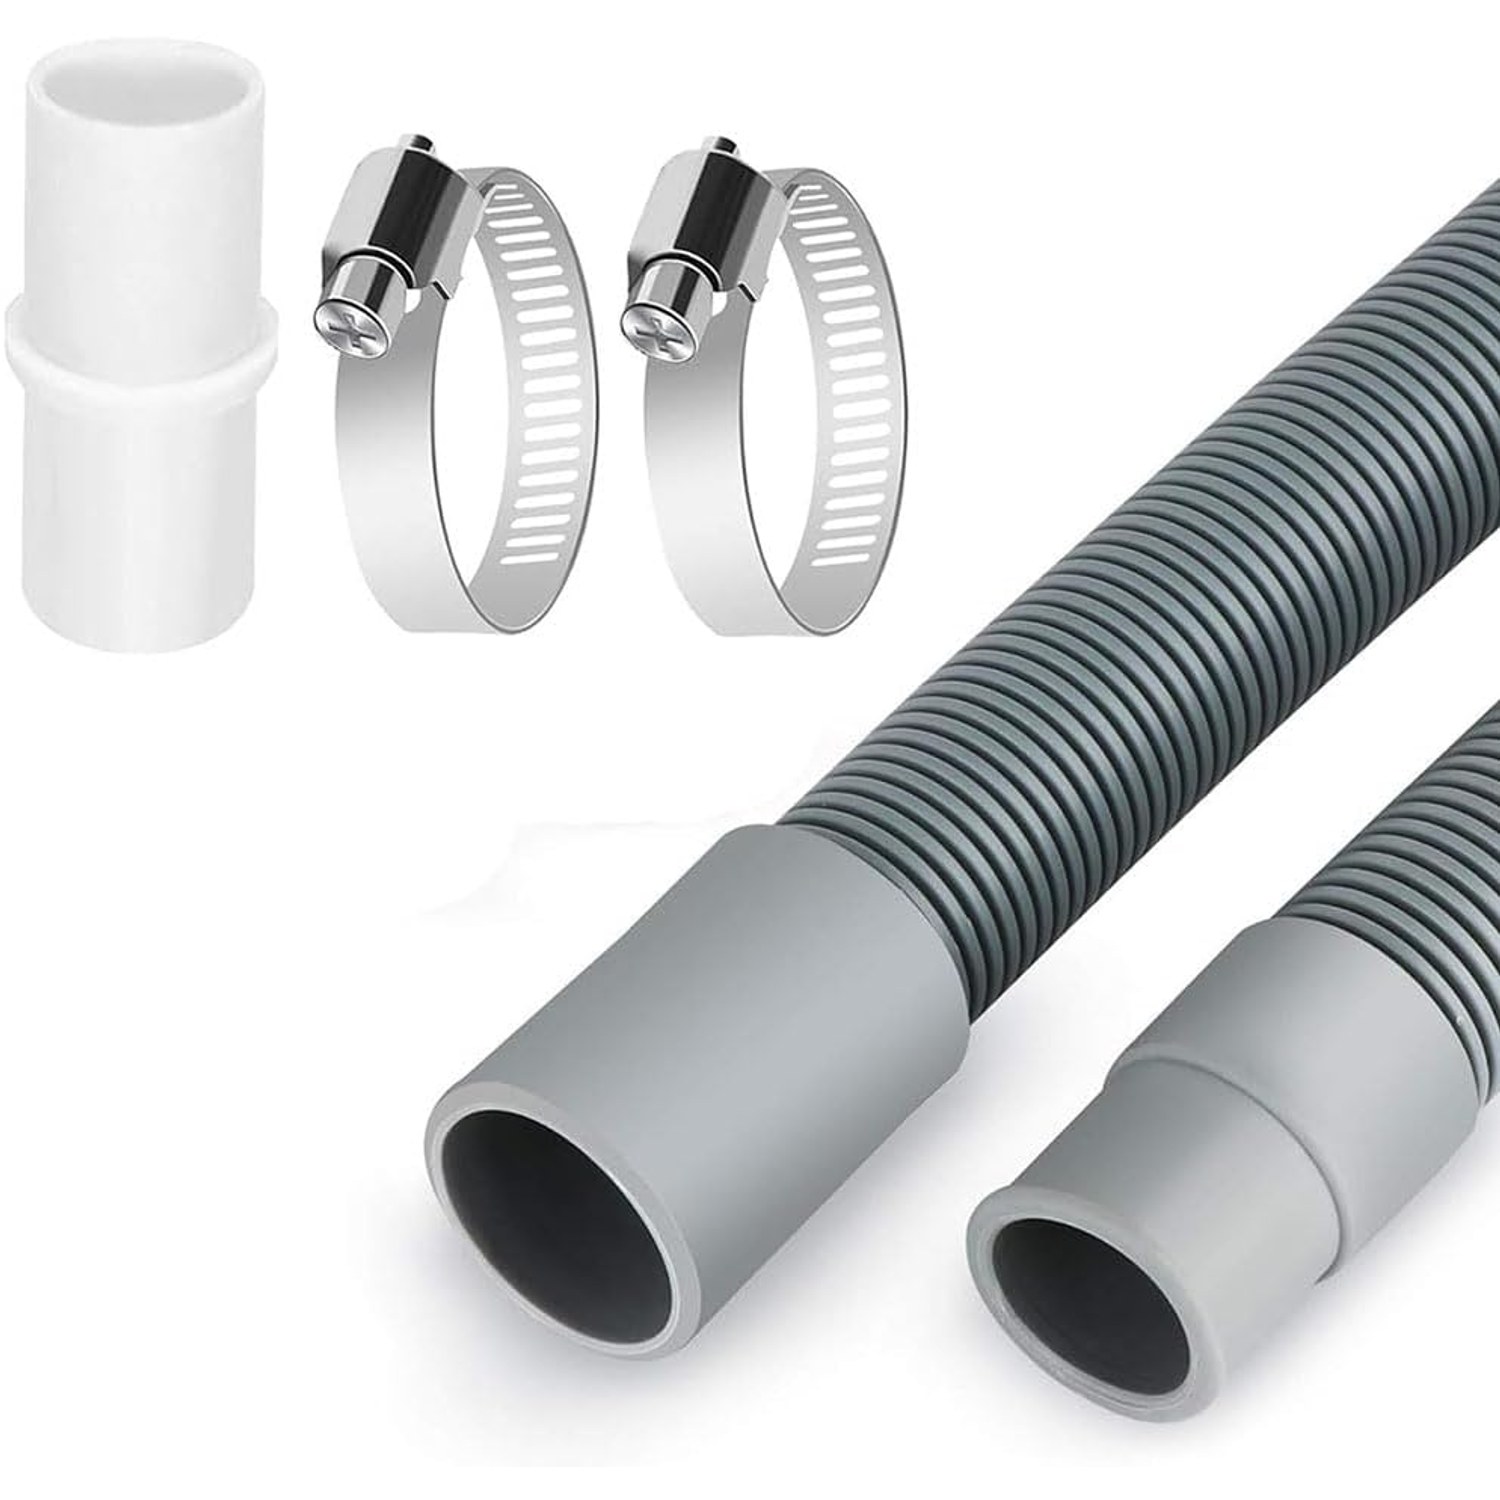
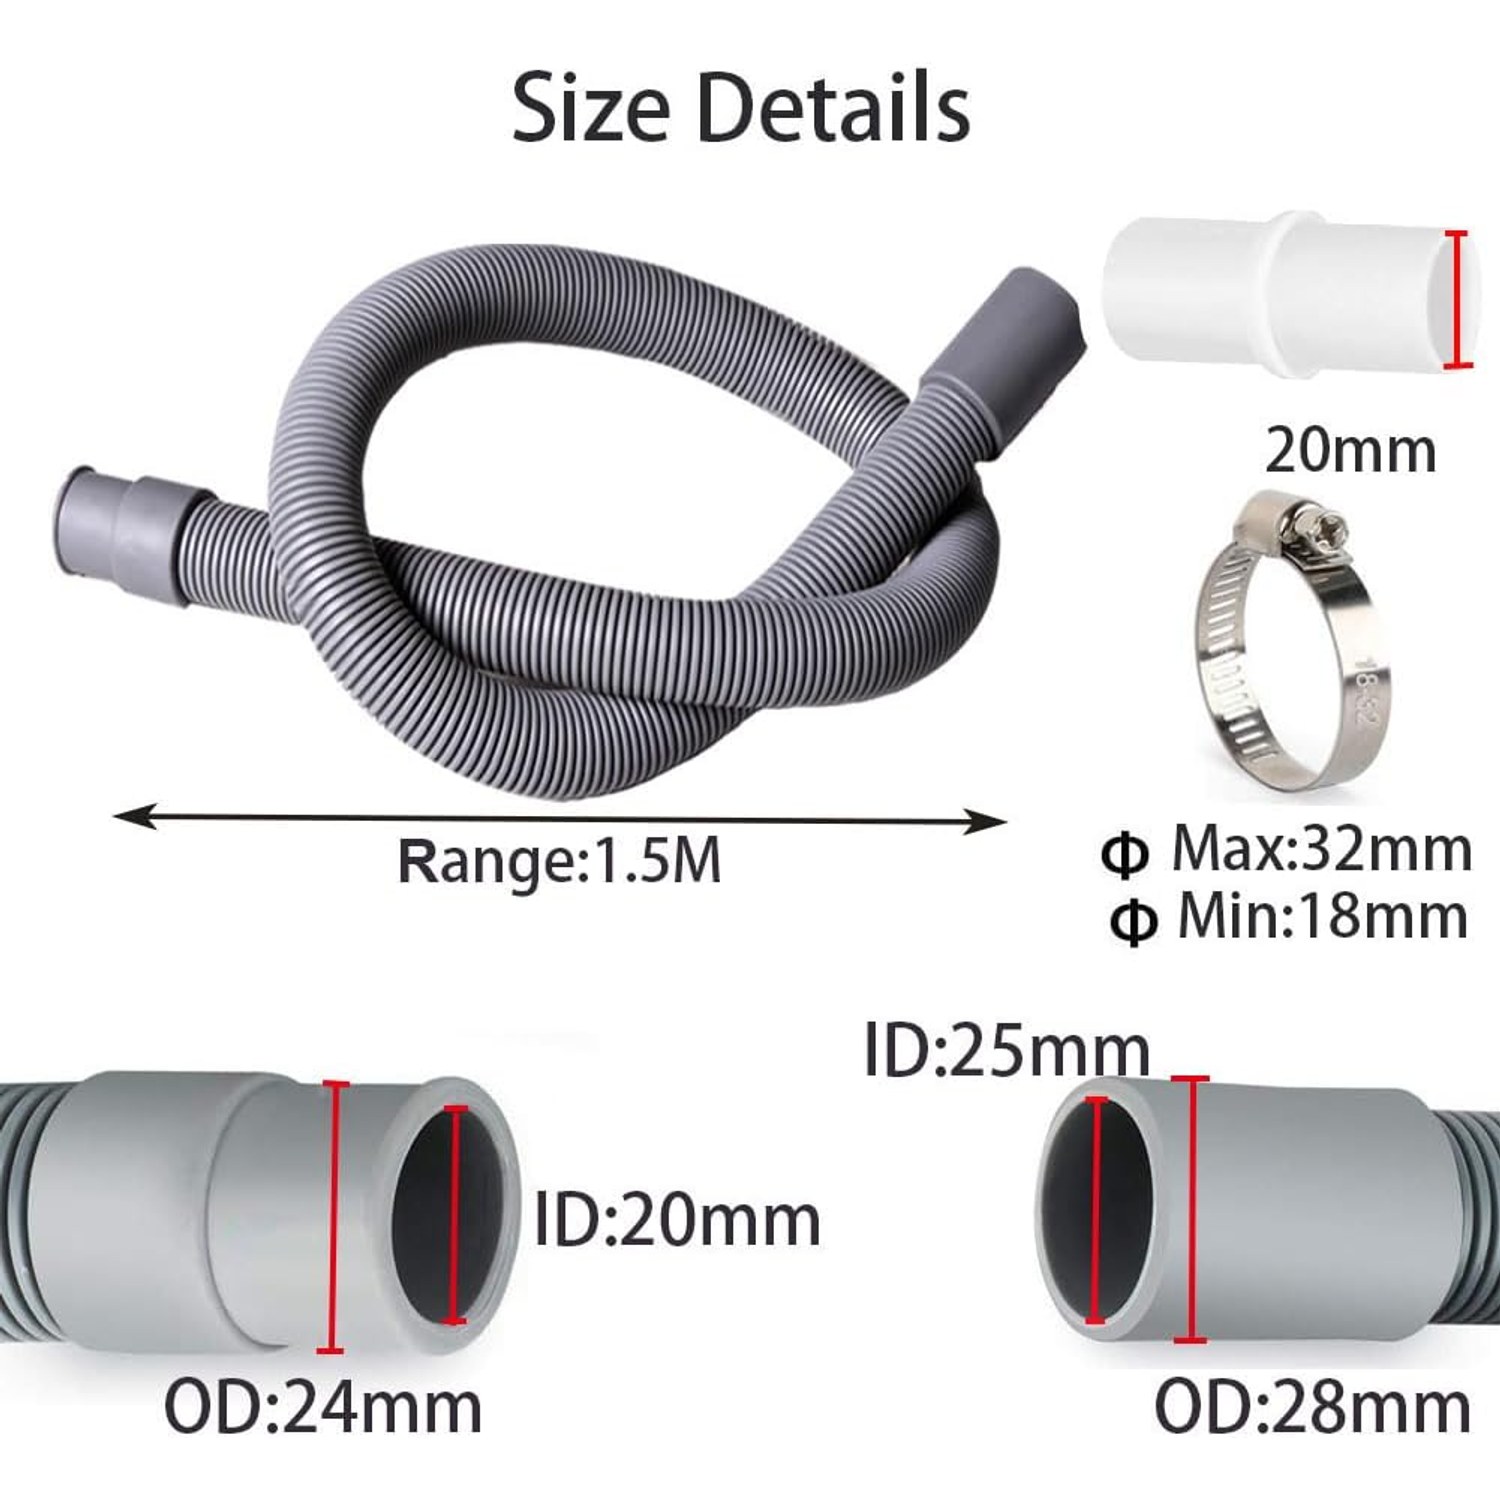
All three problems have the same fix. You need a longer, more flexible hose and a reliable way to connect it. That is what this kit is for. A 1.5 metre run of EVA hose, one adapter for joining it to an existing hose, and two stainless steel clamps to hold the connections tight.
It sounds simple because it is. The part people get wrong is the measurement, and that is worth spending a minute on before anything else.
Measure the spigot, not the hose
Every appliance drain connection starts at a short plastic stub on the back of the machine. That stub is the spigot. The hose slides over it and a clamp squeezes the hose onto it.
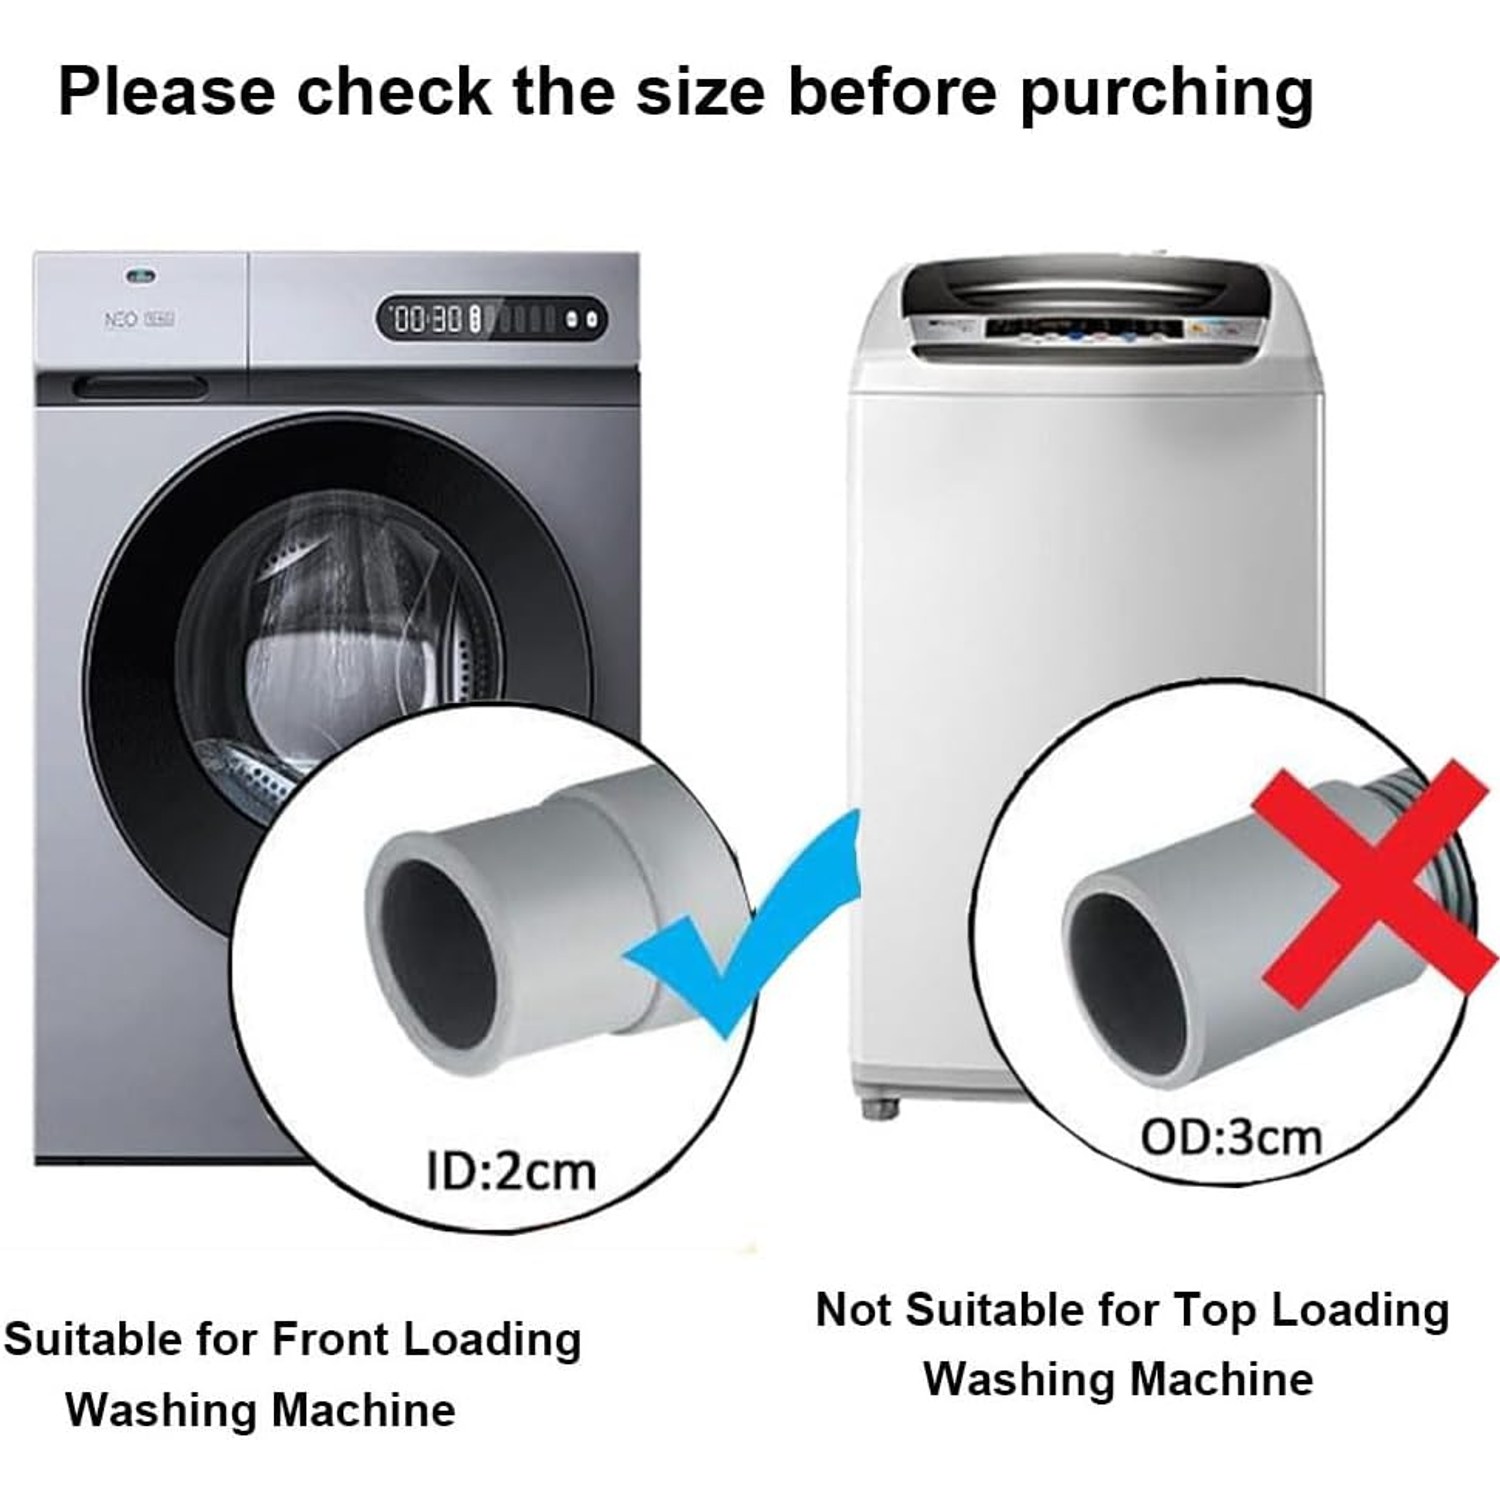
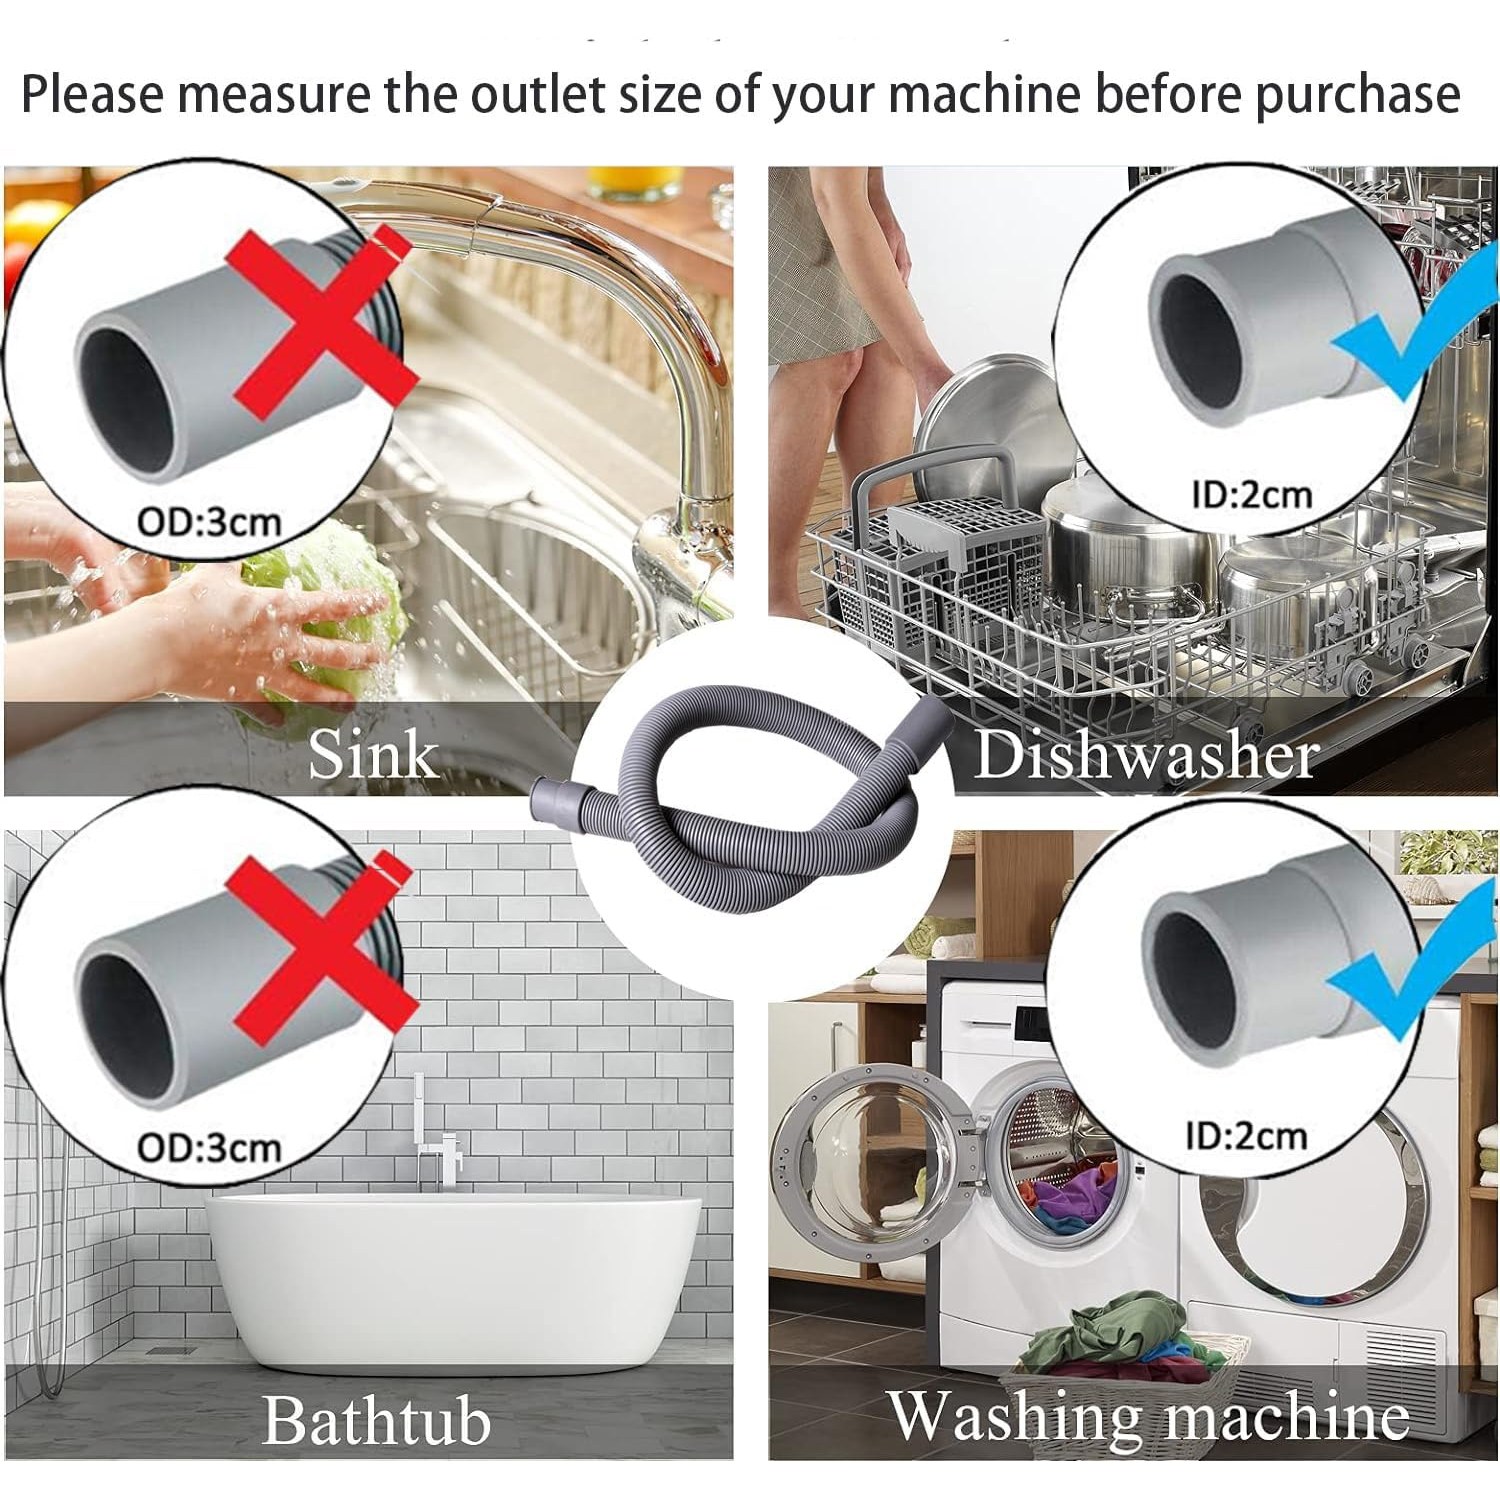
This hose has a 20mm inner diameter, with a 2.1cm outside diameter and a 1mm wall. It is specified for appliance outlets measuring 2.0 to 2.2cm across the outside. That narrow band covers most front loading drum washers, and a good number of dishwashers too.
To check yours, pull the machine out far enough to see the back, then measure across the widest point of the spigot. Use a tape, a ruler or calipers if you have them. Do not measure the old hose. A hose that has been stretched over a spigot for years reads wider than the spigot underneath, and that is how people end up ordering the wrong size.
If your reading lands between 2.0 and 2.2cm, this kit fits. If it is well outside that, you need a different hose, and no amount of pushing will change that.
What the hose is made from and why it matters
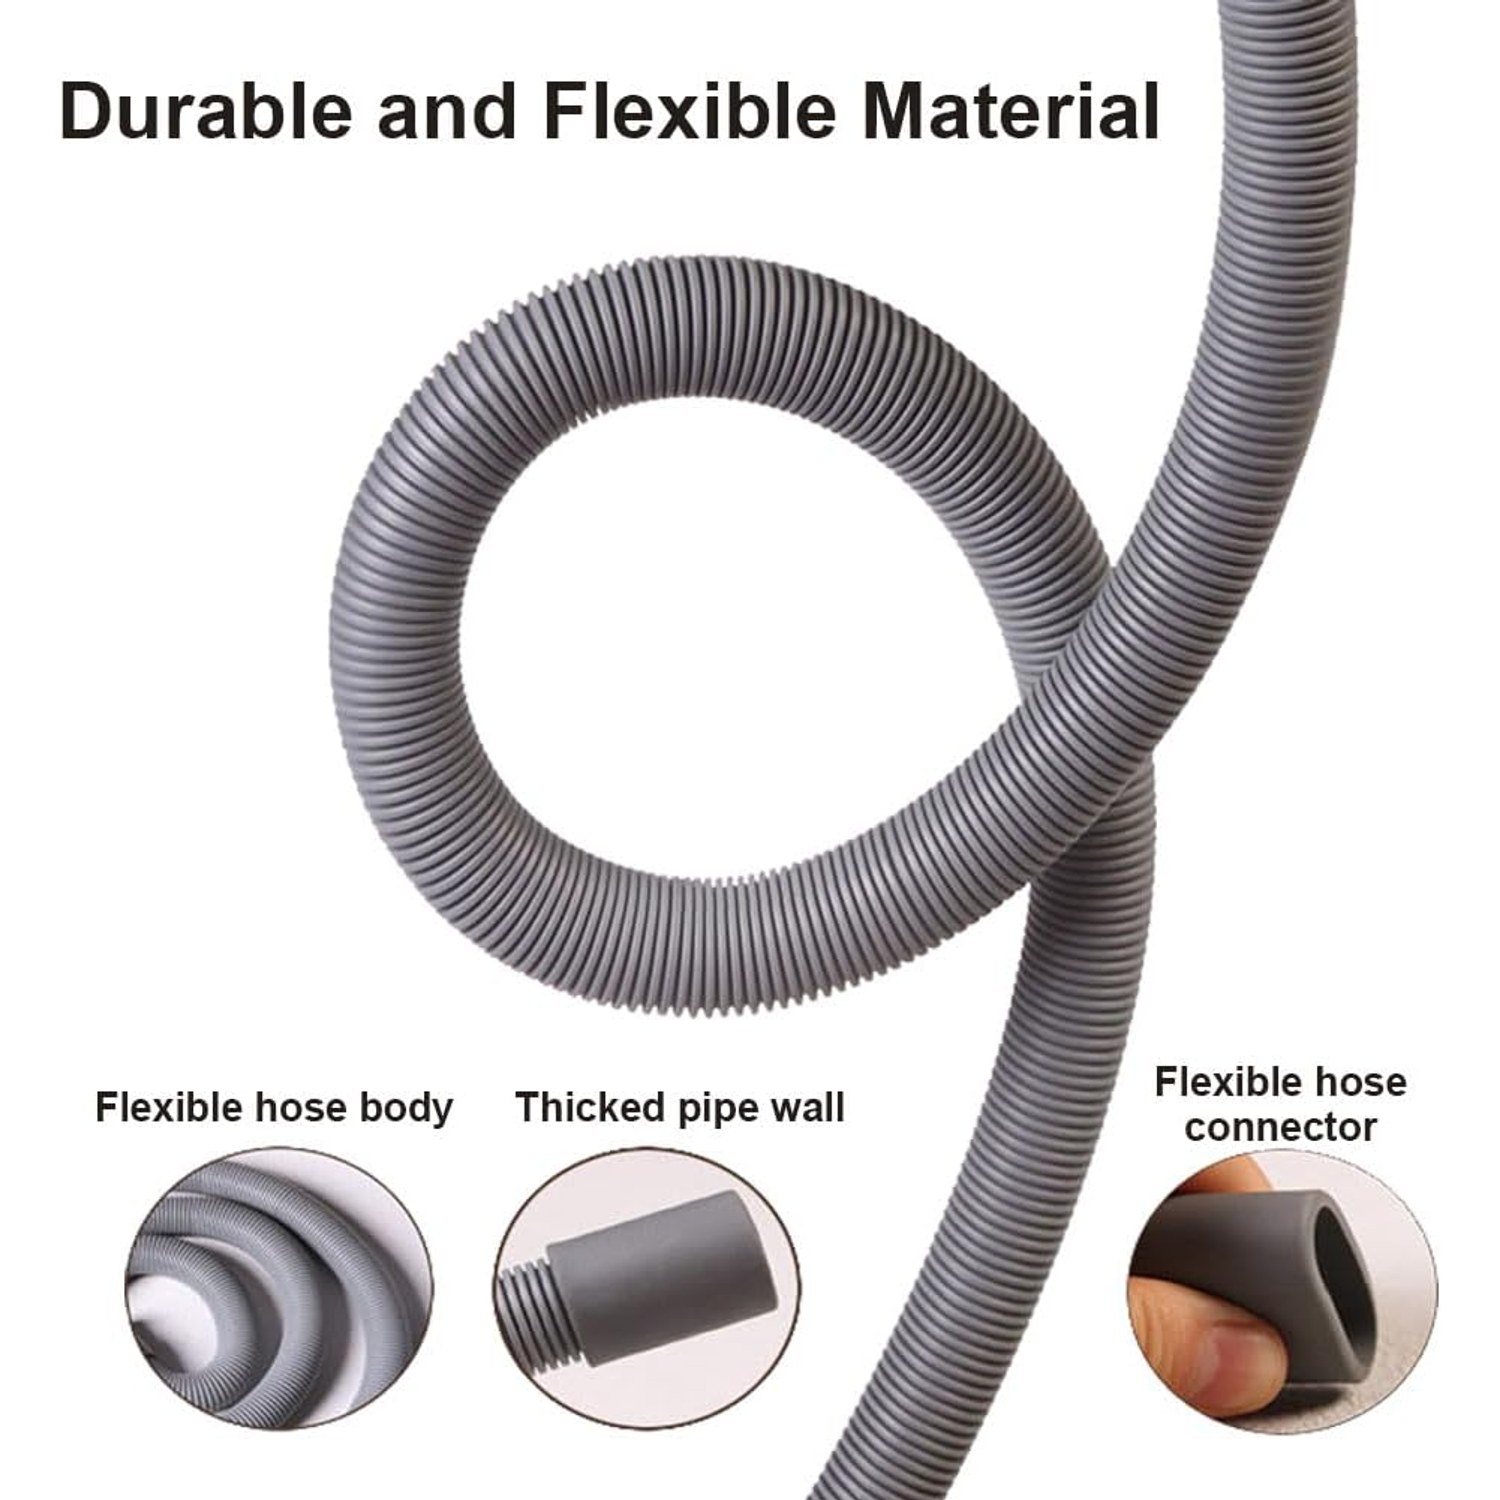
The hose is industrial grade EVA with PE. EVA is chosen for drain lines because it stays flexible in a cold laundry rather than going brittle, and it holds up to the pressure pulses a drain pump sends through it. The PE adds structure.
The wall is ribbed. That ribbing does the real work. A smooth-walled tube of this diameter folds flat the moment you bend it past a certain angle, and a flat hose does not drain. The ribs let the hose curve around a cabinet edge or up over a tub lip while keeping the bore open.
The clamps are 304 stainless steel. This matters more than people expect. A laundry is a damp room with warm air and detergent in the mix, and a plain steel clamp will rust in that environment. A rusting clamp loses its grip slowly, and the first sign is usually a damp patch on the floor. Stainless avoids that.
Who this suits
The obvious case is anyone whose existing hose is too short. The 1.5 metres gives you enough slack to move a machine across a nook, put it in a cupboard, or route the waste line a sensible way instead of a tortured one.
The second case is replacement. If your current hose is hard, cracked, bulging at a clamp, or has a permanent kink that will not come out, it is at the end of its life. Replacing it is cheap and takes ten minutes, and it is the kind of job that saves a flooded floor later.
The third case is appliances other than washing machines. Dishwashers and similar units often use the same size spigot. The rule is the same as always. Measure, then order.
It is not suitable for a supply line. Inlet hoses sit under mains pressure around the clock and need hose rated for that duty. This is a waste line, made for water leaving a pump.
Fitting it, step by step
Start by turning the machine off at the wall and shutting the water supply. Pull the appliance out far enough to work behind it comfortably.
If you are replacing the old hose, loosen its clamp and twist the hose off the spigot. Some water will come out, so have a towel and a shallow tray ready. Old hoses can stick, and a gentle twist works better than brute force.
Slide the clamp onto the new hose first, then push the hose onto the spigot. Seat it fully, past the lip on the stub, not just resting on the end. Slide the clamp over the overlap and tighten the screw as far as it will go.
If you are extending rather than replacing, use the adapter. It pushes into the end of the existing hose and the end of the new one, joining the two by hand. Put a clamp on each side of the adapter and tighten.
Then test. Run a short rinse or spin cycle and watch the joins while the pump runs. Put your hand underneath each connection and feel for moisture. If you find a drip, tighten another half turn and run it again. Nothing beats actually watching water go through before you push the machine back.
Routing the hose well
A hose can be the right size and still drain badly if it is routed poorly. A few things to keep in mind.
Avoid sharp bends. Gentle sweeping curves keep the bore open. A kink is a partial blockage, and a partial blockage means slow drains and a pump working harder than it should.
Keep the run as level as you can. Long dips hold standing water, which smells over time and can siphon oddly. If you must have a low point, accept that you will flush it occasionally.
Respect the discharge height. Your appliance manual states a maximum height for the end of the drain hose, usually measured from the floor. Going above it asks the pump to lift water it was not designed to lift. If your machine starts struggling after you extend the hose, check that figure first.
Secure the end. A loose hose at the standpipe can jump out during a hard spin cycle. Use the cable tie or hook your machine came with, or clip it to the pipe.
Looking after it
Maintenance is light. Every few months, check the clamps are still tight and run a hand along the hose feeling for damp patches. Look at the bends for cracks or soft spots.
Once a year is a reasonable schedule for a flush. Disconnect the hose, take it outside, and run clean water through until it comes out clear. Lint and detergent residue build up in the ribs, more than you would think.
Wipe the outside down when you clean behind the machine. Do not let a laundry basket or storage tub sit on the hose, as the constant pressure will create a permanent flat spot.
Replace it when it shows real wear. Hardening, splitting, bulges near a clamp, a kink that stays put. These are all end of life signs, and a hose is far cheaper than a floor.
The short version
Measure your appliance's drain outlet. If it reads 2.0 to 2.2cm, this 1.5 metre hose fits. The kit comes with the adapter and two stainless clamps you need, so there is nothing else to buy.
Fit it with the hose fully seated and the clamps properly tight, test it with a short cycle before you push the machine back, and route it without sharp kinks.
Check it a couple of times a year and replace it when it starts to harden or crack. Done that way, a drain hose is one of the few appliance parts that just quietly does its job.