
The complete guide
Washer Drain Hose Extension Set 2m: A Practical Buyer's Guide
The problem nobody mentions until moving day
Appliances rarely end up where the plumbing wants them. You slide the washer into the alcove, line it up with the power point, and then discover the factory drain hose is 40 centimetres short of the standpipe. Or you have just moved the machine to the other side of the laundry so a cupboard can fit, and now the hose is stretched tight like a guitar string.
People improvise. They wedge the hose over the tub and hope. They add a bit of garden hose and tape the joint. Both work until a spin cycle pushes water through at speed, and then you are mopping the floor at 11pm.
A proper washer drain hose extension fixes this in minutes. Two metres of flexible hose, a way to join it, and a hook that holds the open end where you put it. That is really the whole job.
What this kit actually is
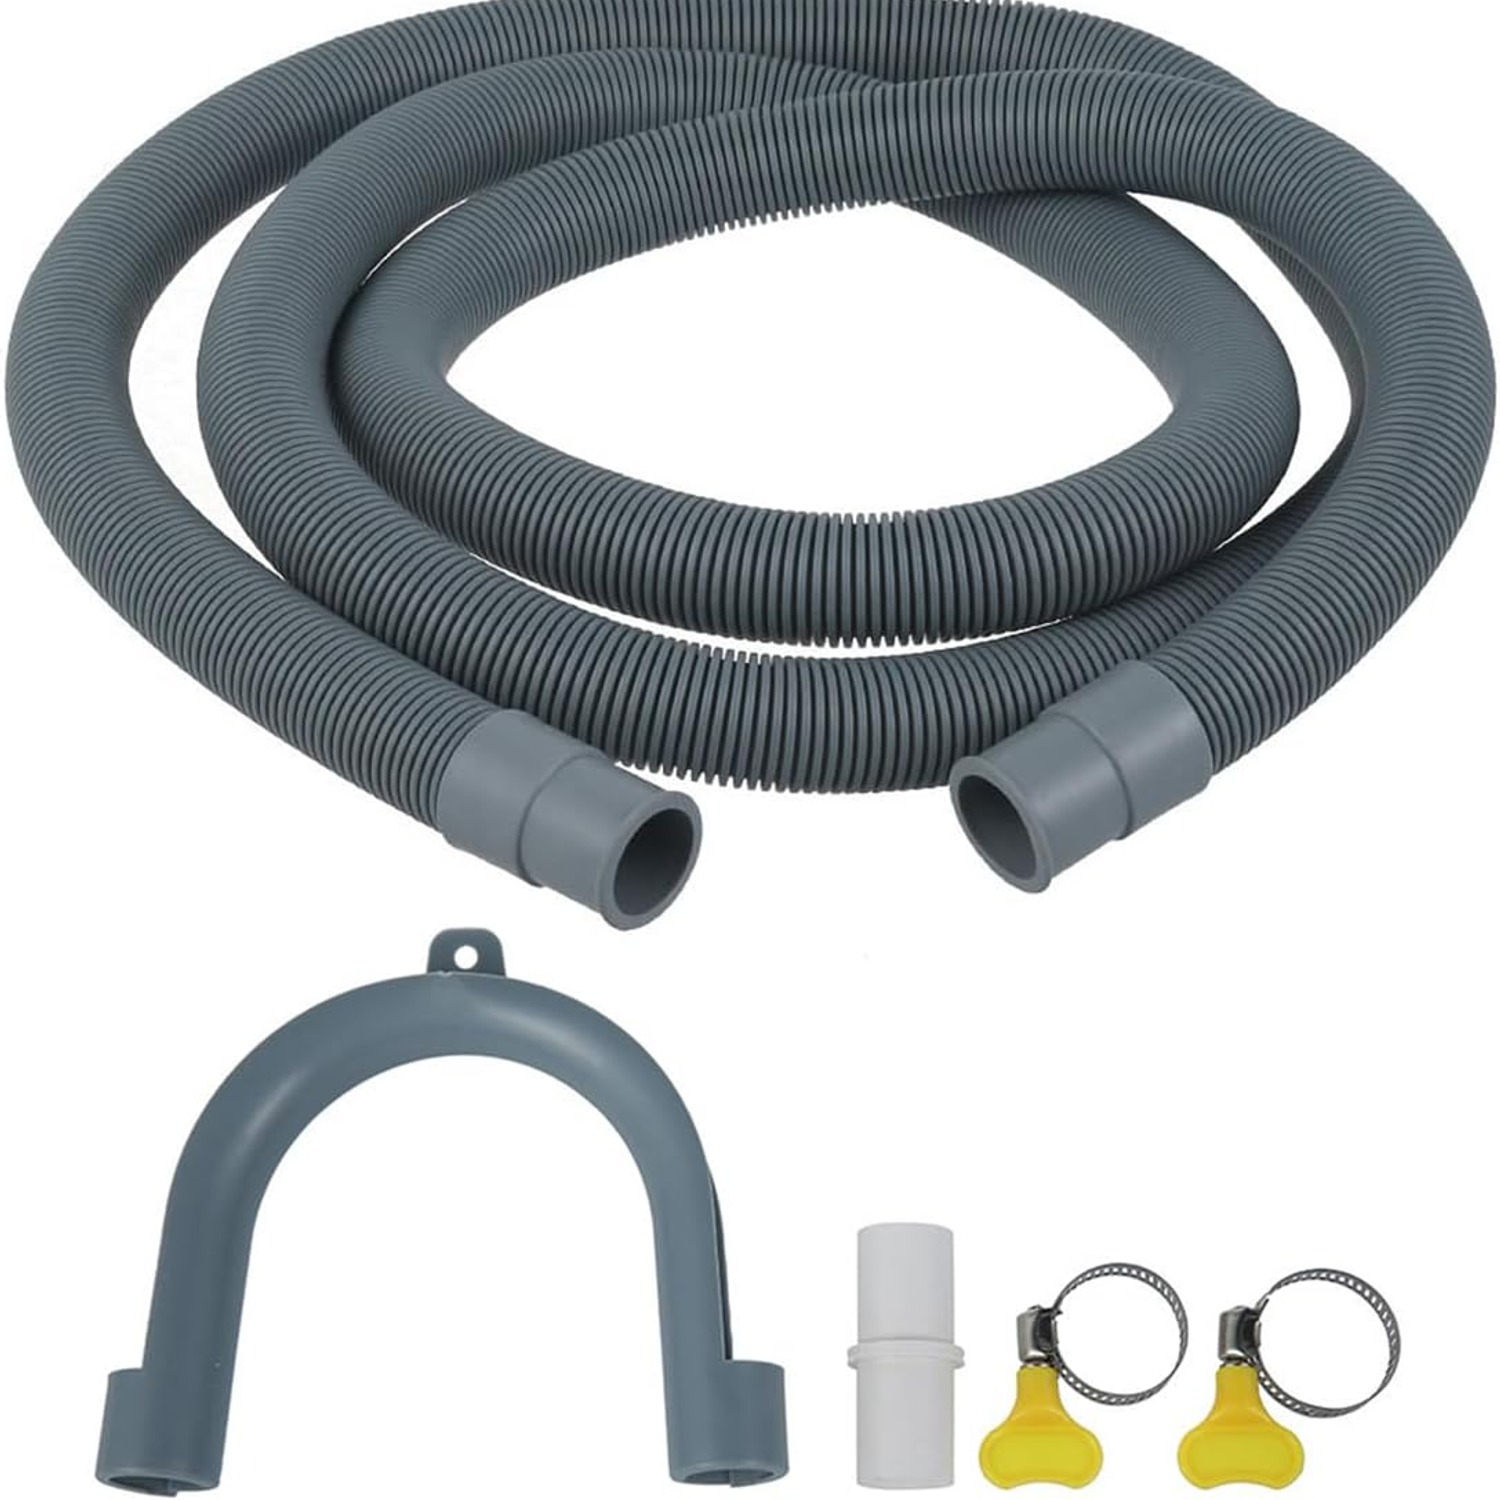
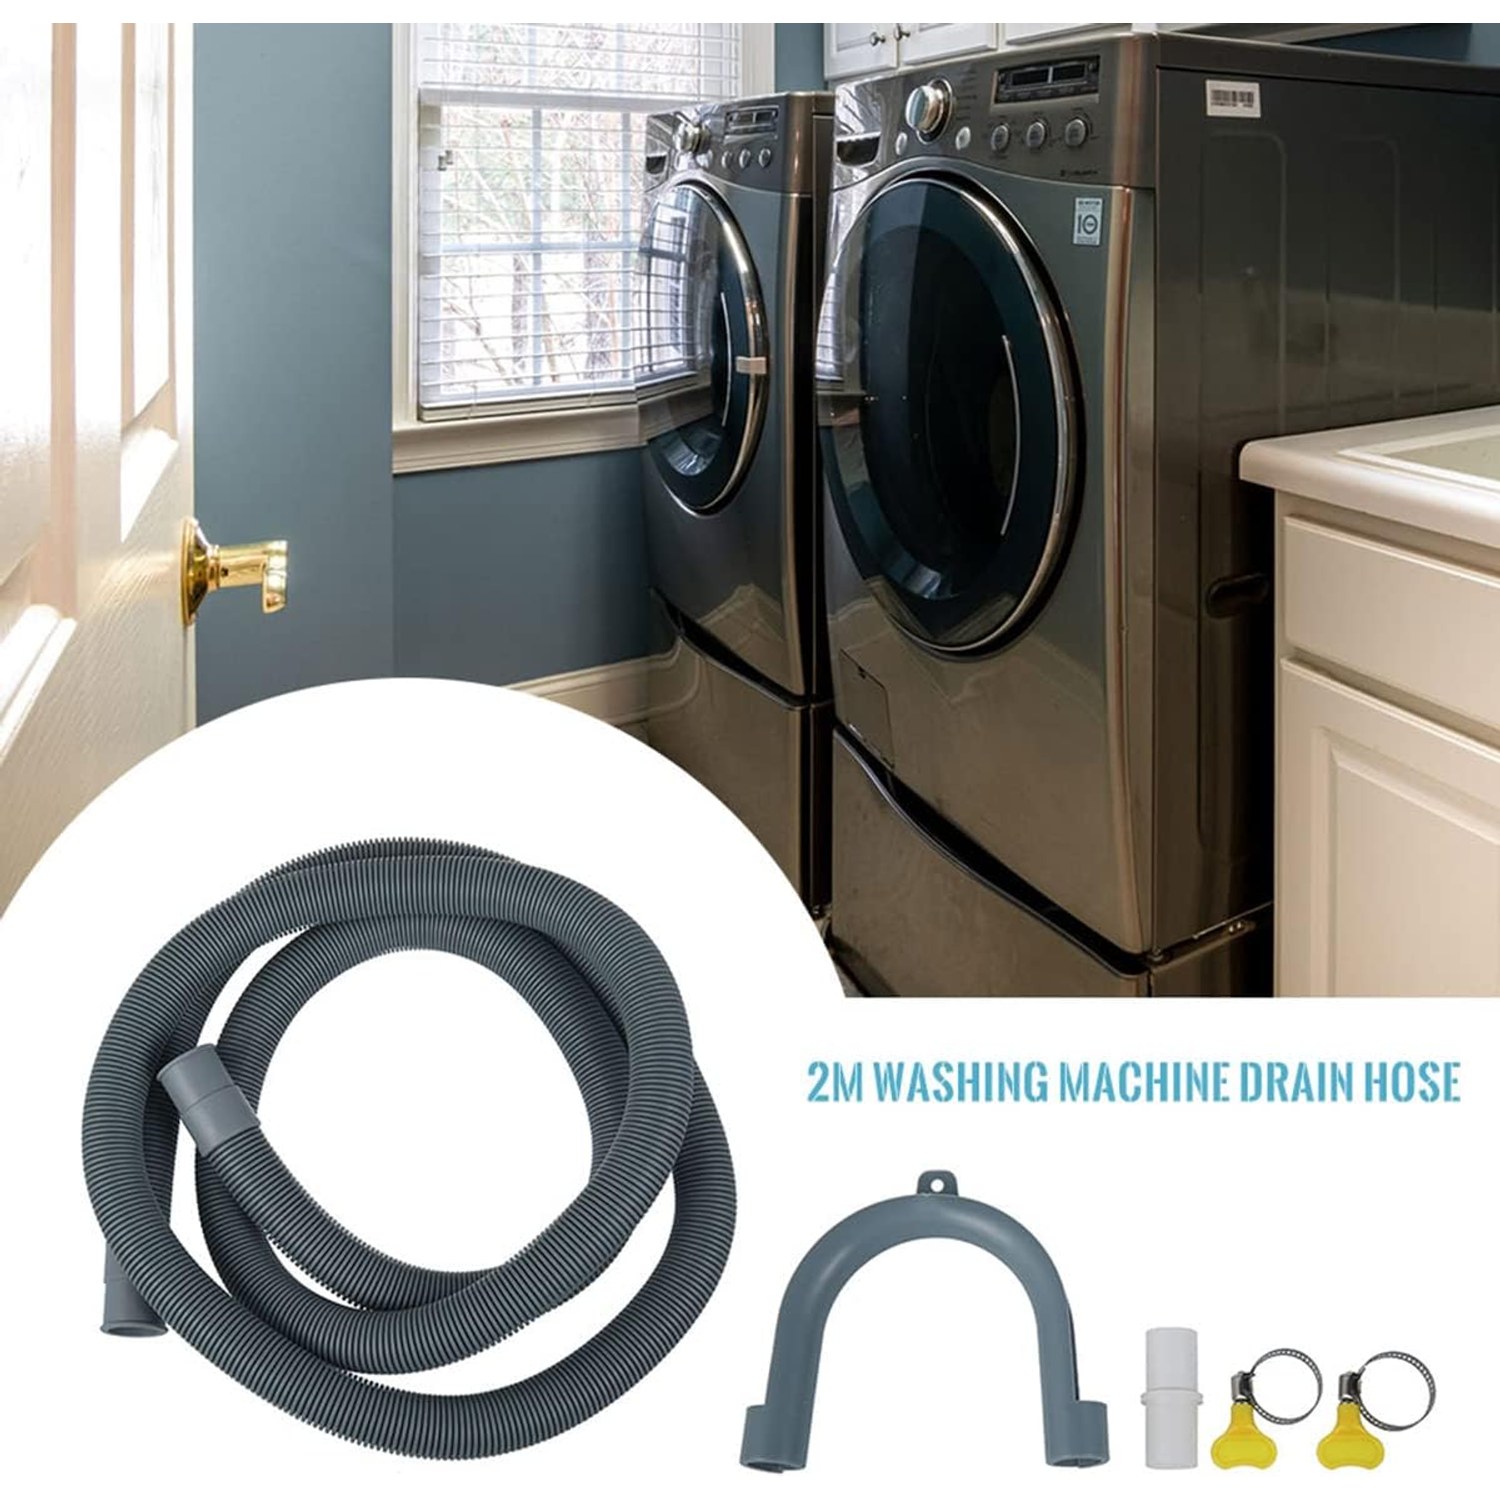
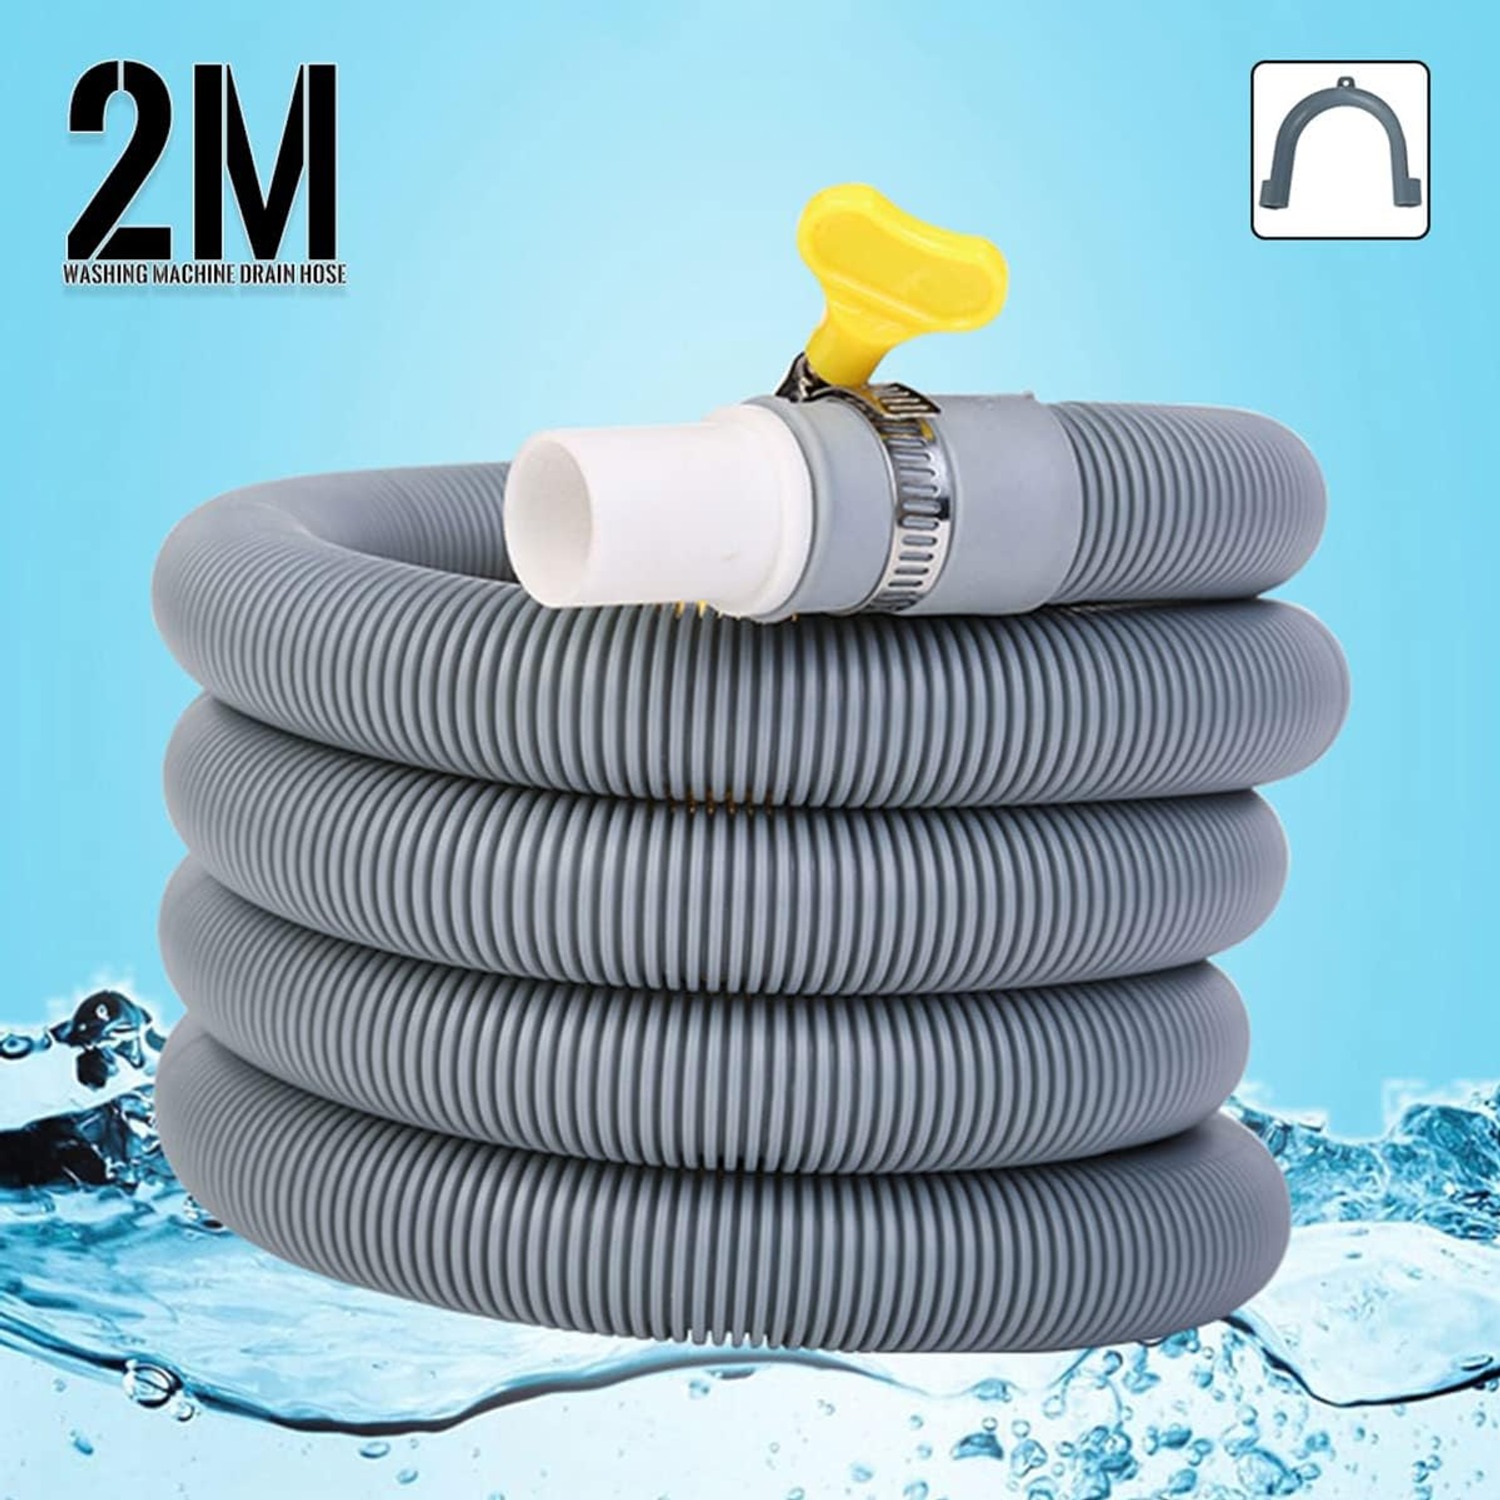
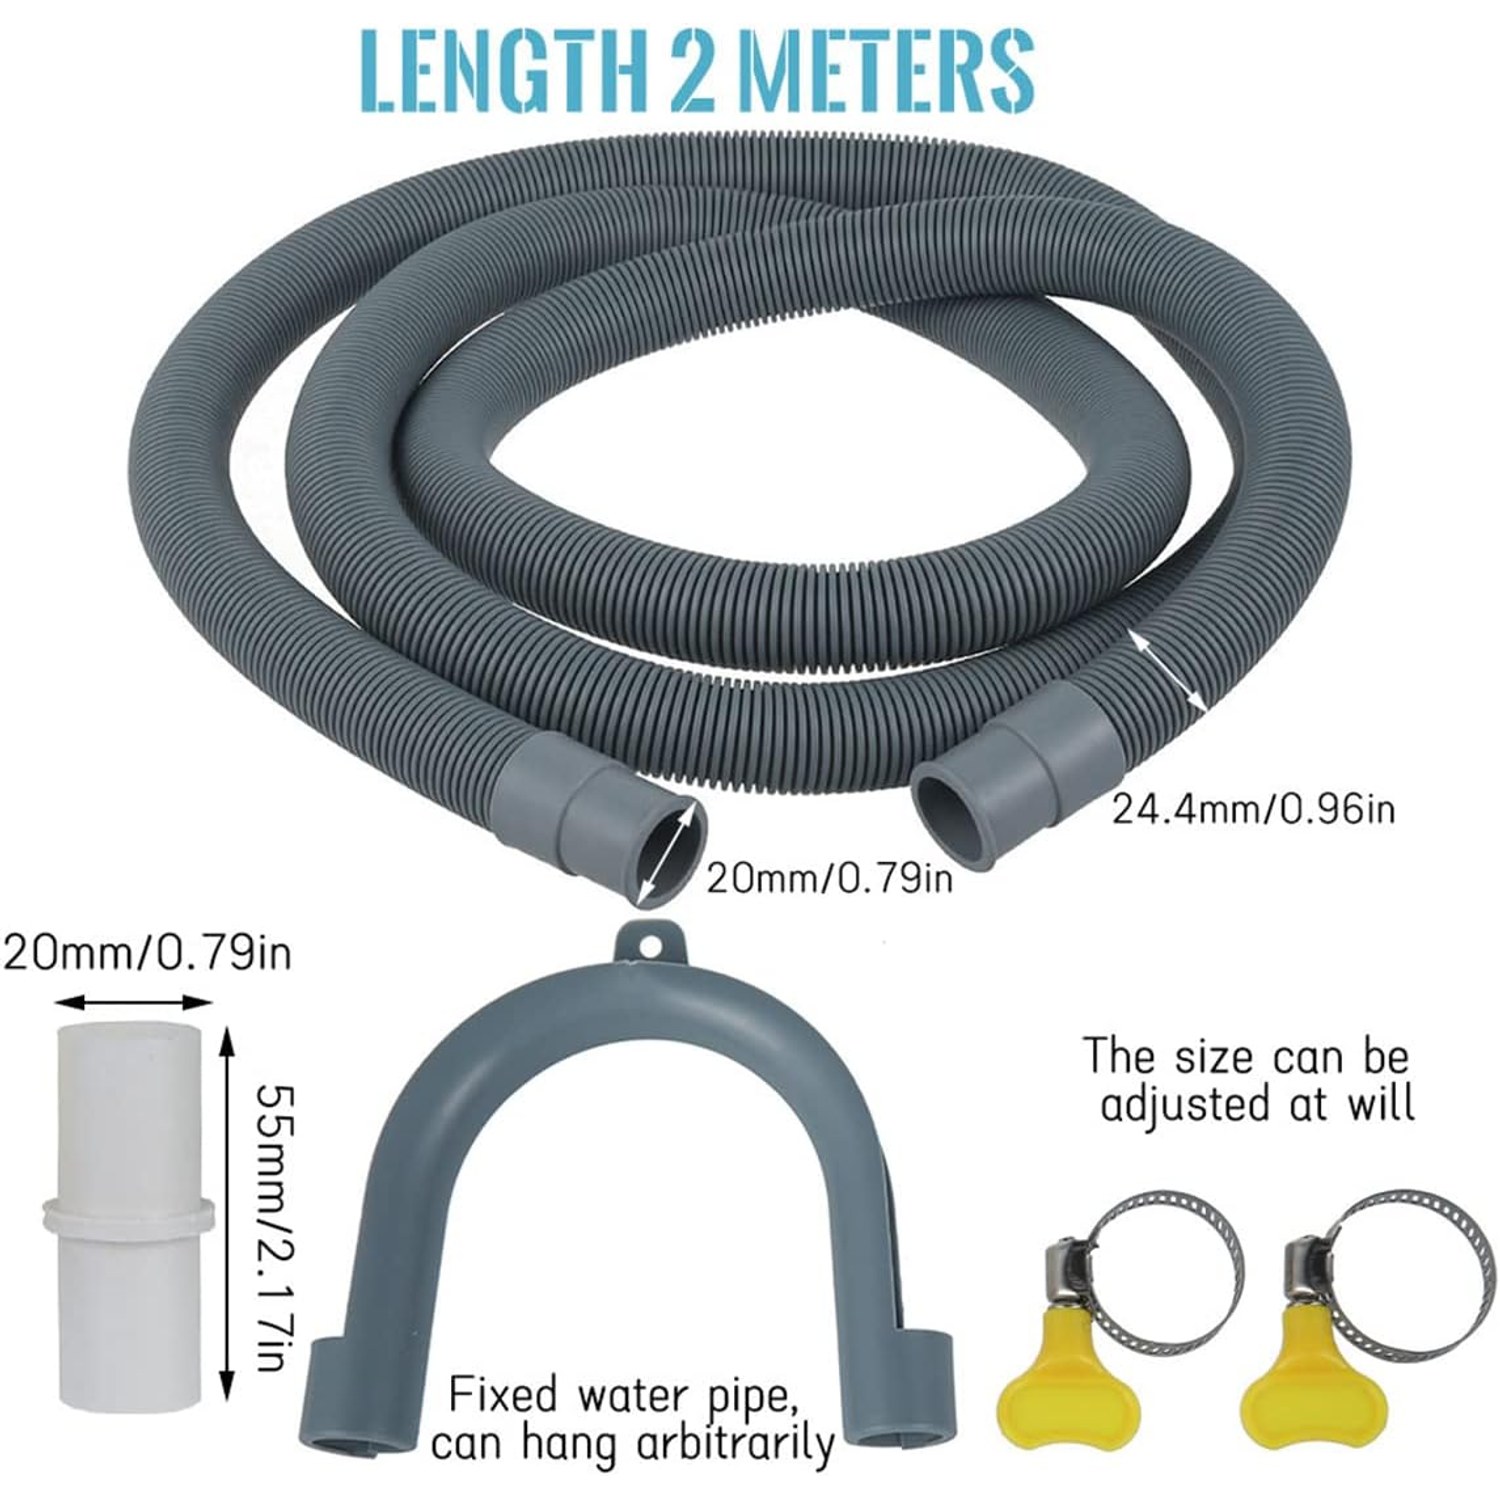
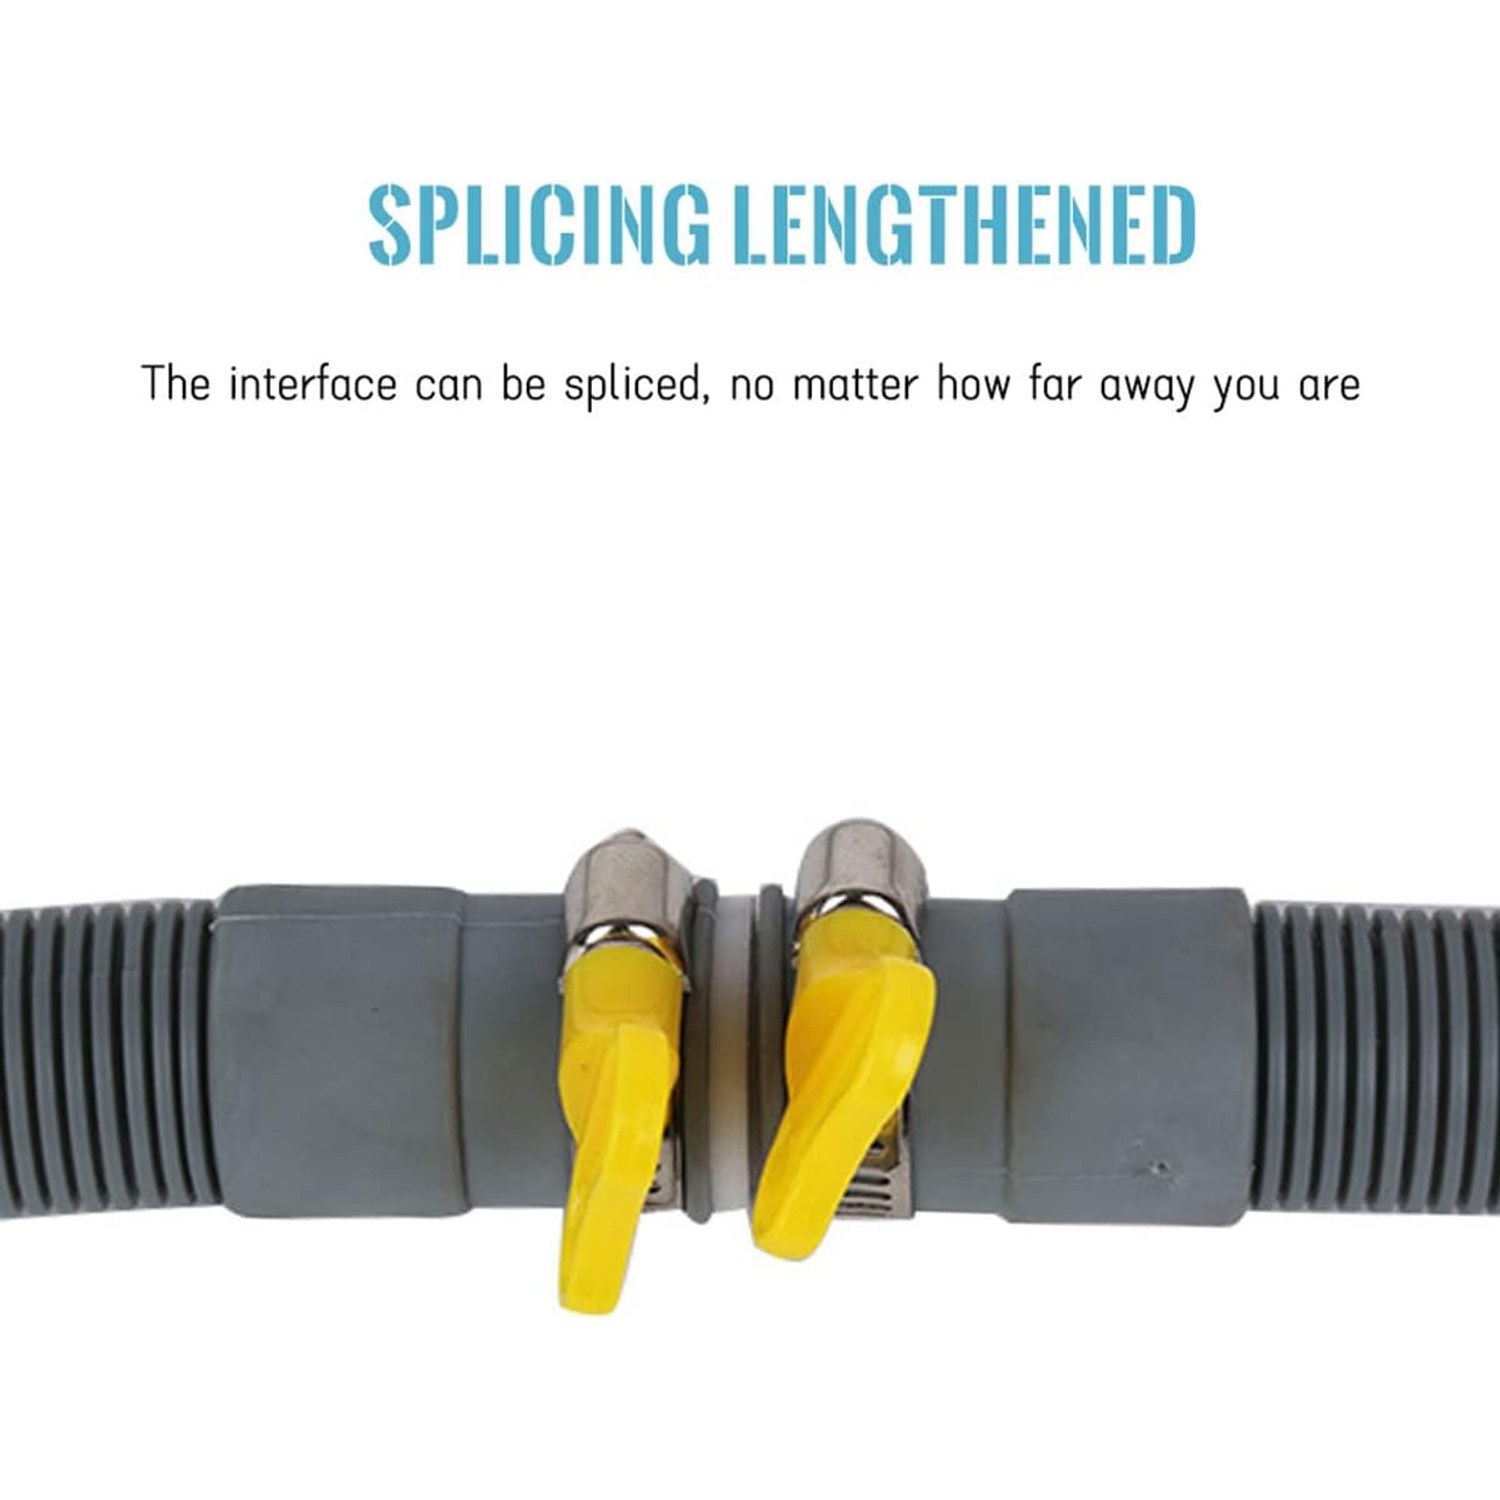
This is a 2 metre polypropylene drain hose with a 20 mm inner diameter and a 24.4 mm outer diameter. It comes with a white adapter, a U-bend drain hanger and two 304 stainless steel clamps. The hose colour is grey.
Those numbers matter more than the marketing. Inner diameter decides whether the hose slides onto your outlet. Outer diameter decides whether it sits inside a standpipe without rattling. Twenty millimetres inside is the common size on a lot of general washing machines, which is why this kit suits most of them.
Polypropylene is the right plastic for a flexible drain hose. It stays bendy in cool weather, it handles warm wash water, and it shrugs off detergent. More importantly, it holds a curve. Cheap drain hose folds flat the moment you bend it past about 90 degrees, and a flat hose does not drain.
How it works in practice
The hose does not do anything clever. Your appliance has a pump. The pump pushes water out of the drum, down the hose, and into the drain. All the hose has to do is stay open, stay connected, and stay in the drain.
Staying open is the material's job. Staying connected is the clamp's job. A hose clamp works by squeezing the hose wall onto a barbed or ribbed fitting underneath, so the grip is friction plus the ridges. Tighten it until the hose cannot be twisted off by hand, then stop. Over-tightening can bite into the plastic.
Staying in the drain is the U-bend hanger's job. It holds a fixed curve at the end so the hose sits over a tub rim or down a standpipe without flicking out. If you have ever cable-tied a hose to a tap because it kept jumping out, you will appreciate having the proper part.
Who this suits
This kit is for anyone whose appliance outlet does not comfortably reach the drain. That covers a few situations.
Someone rearranging a laundry so a dryer or cupboard fits in. The machine moves a metre, the plumbing does not, and the gap needs closing.
Someone with a portable washer that drains into the kitchen sink. The supplier notes it suits most portable washer hoses, and the U-bend hanger is exactly what a sink setup needs.
Someone fitting a dishwasher drain extension where the existing line is short. The same hose and clamps apply, though dishwashers have their own rules about high loops and air gaps, so read the appliance manual.
Renters and van or cabin owners also get good use out of it, because the whole setup is removable. Nothing is glued or plumbed in permanently. When you move, you undo two clamps and take it with you.
How to choose the right drain hose
Start with a tape measure, not a shopping cart. Measure from the appliance outlet, along the path the hose will actually take (around the back, down the wall, over to the drain) and add about 20 centimetres of slack. A hose pulled tight will eventually work itself off a fitting.
Second, measure the diameter of your existing hose. Inner diameter is the number that counts for fit. If yours is 20 mm inside, this kit lines up. If it is noticeably bigger or smaller, you want a different size or a step adapter.
Third, check your appliance manual for the maximum drain height and maximum hose length. Pumps are rated for a certain lift. Running a very long or very high line can leave water behind in the drum, and that is not a hose fault, it is a pump limit.
Fourth, look at what the kit includes. A bare length of hose is cheap, but then you are back at the hardware store buying clamps and a hanger anyway. A kit with two stainless clamps, an adapter and a U-bend saves that second trip.
Finally, think about the clamp material. In a laundry, everything is damp some of the time. Stainless steel does not bloom orange rust across the wall the way plated steel can. It is a small detail that shows up two years later.
Fitting it without drama
Turn the machine off and pull it out far enough to work behind it. Have a towel and a shallow tray ready, because there is always a little water left in the old hose.
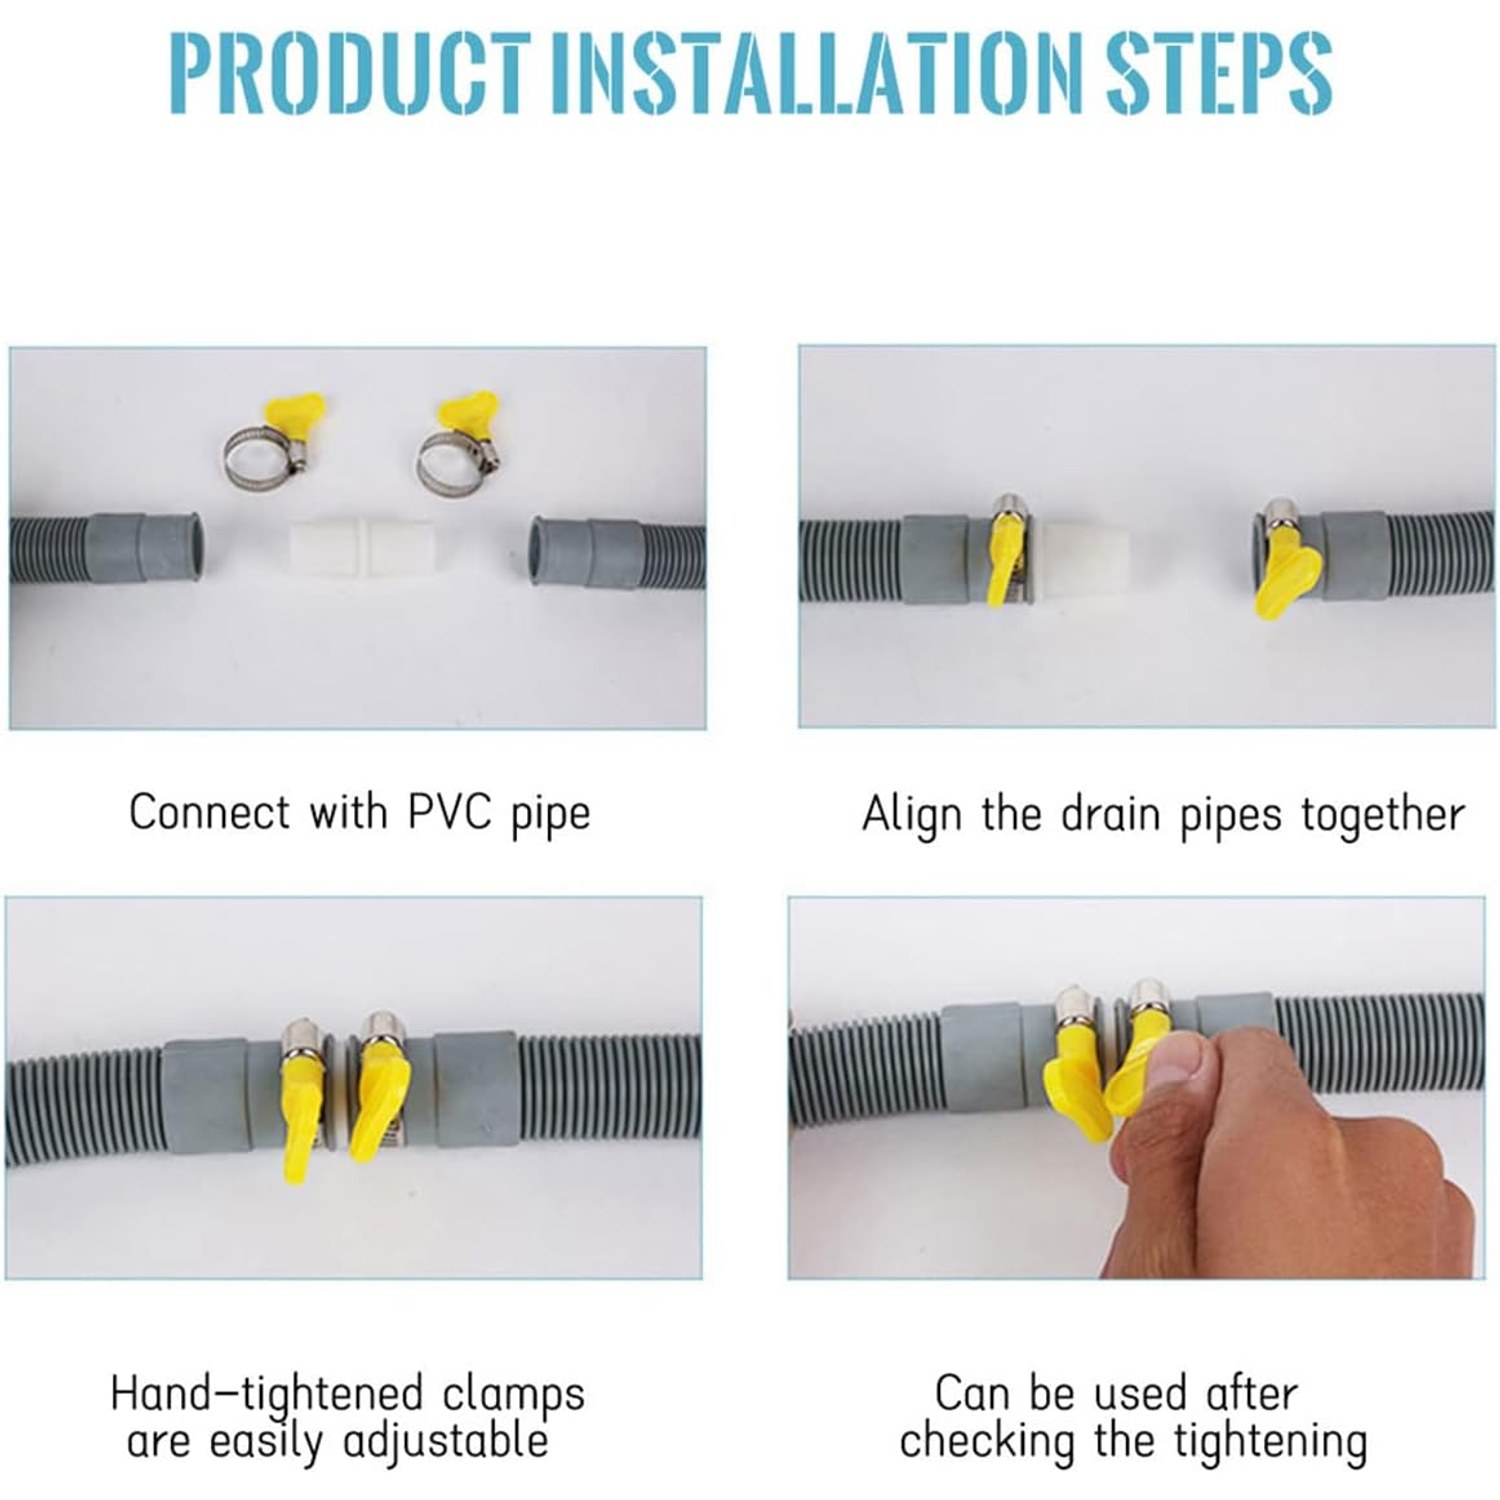
Trim the inlet connection on the new hose to suit your washer outlet assembly, cutting square so the clamp seats flat. Push the hose fully onto the outlet, slide a clamp over the overlap, and tighten with a flat screwdriver until the hose will not twist by hand.
Run the hose to the drain in a smooth path. Avoid tight corners, do not let it pass under the appliance feet, and do not loop it in circles behind the machine. Fit the U-bend hanger on the open end and hook it over the tub rim or into the standpipe.
Then test it before you push the machine back. Run a short rinse and spin, and watch the joints. Feel them with a dry hand. If anything is damp, tighten a touch more and test again. Two minutes of checking now beats a wet floor later.
Keeping it working
Drain lines collect lint, soap film and the occasional sock fibre. Once a year, pull the hose off and flush clean water through it. If it smells, warm water with a little dish soap and a good rinse usually clears it.
Check the clamps every few months. Hoses settle and plastic relaxes, so a clamp that was perfect in January can be slightly loose by winter. A quarter turn is all it usually needs.
Keep the hose clear of crush points. The most common failure is not the hose splitting, it is the appliance being shoved back against the wall with the hose pinched behind it. Leave enough space for a gentle curve.
If you are storing the kit between uses, let it dry out first and coil it loosely. Tight coils leave permanent bends.
Common mistakes worth avoiding
Running the hose higher than the pump can manage. Check the manual, not your instinct.
Taping a joint instead of clamping it. Tape slips when the plastic gets warm and wet.
Leaving the open end loose in a tub. Spin cycles move water fast, and a loose hose will walk out of the drain.
Cutting the hose before you have measured the full path. Once it is short, it stays short.
The short version
This is a straightforward fix for a common annoyance. Two metres of flexible PP hose, a 20 mm inner and 24.4 mm outer diameter, two 304 stainless steel clamps, an adapter and a U-bend hanger. It extends a washing machine drain hose, a dishwasher drain line, a sink outlet or an air conditioner condensate run.
Measure first, cut square, clamp firmly, hook the end so it cannot escape, and test before you push the appliance back. Done properly, it is the kind of job you do once and then forget about for years.