
The complete guide
The Practical Guide to Choosing a Washing Machine Drain Hose
The puddle you did not see coming
Most laundry floods are not dramatic. There is no burst pipe. There is a slow, patient drip at the back of the washer that soaks into the skirting board for months before anyone notices the smell. Then one day the machine finishes a cycle and there is an inch of water under it.
Nine times out of ten the culprit is the drain hose. It is the one part of the laundry that gets abused constantly and inspected never. Every time someone pushes the machine back against the wall, that hose gets folded. Every cycle, warm detergent water runs through it. After a few years the plastic goes hard, the fold becomes permanent, and the joint at the end stops sealing.
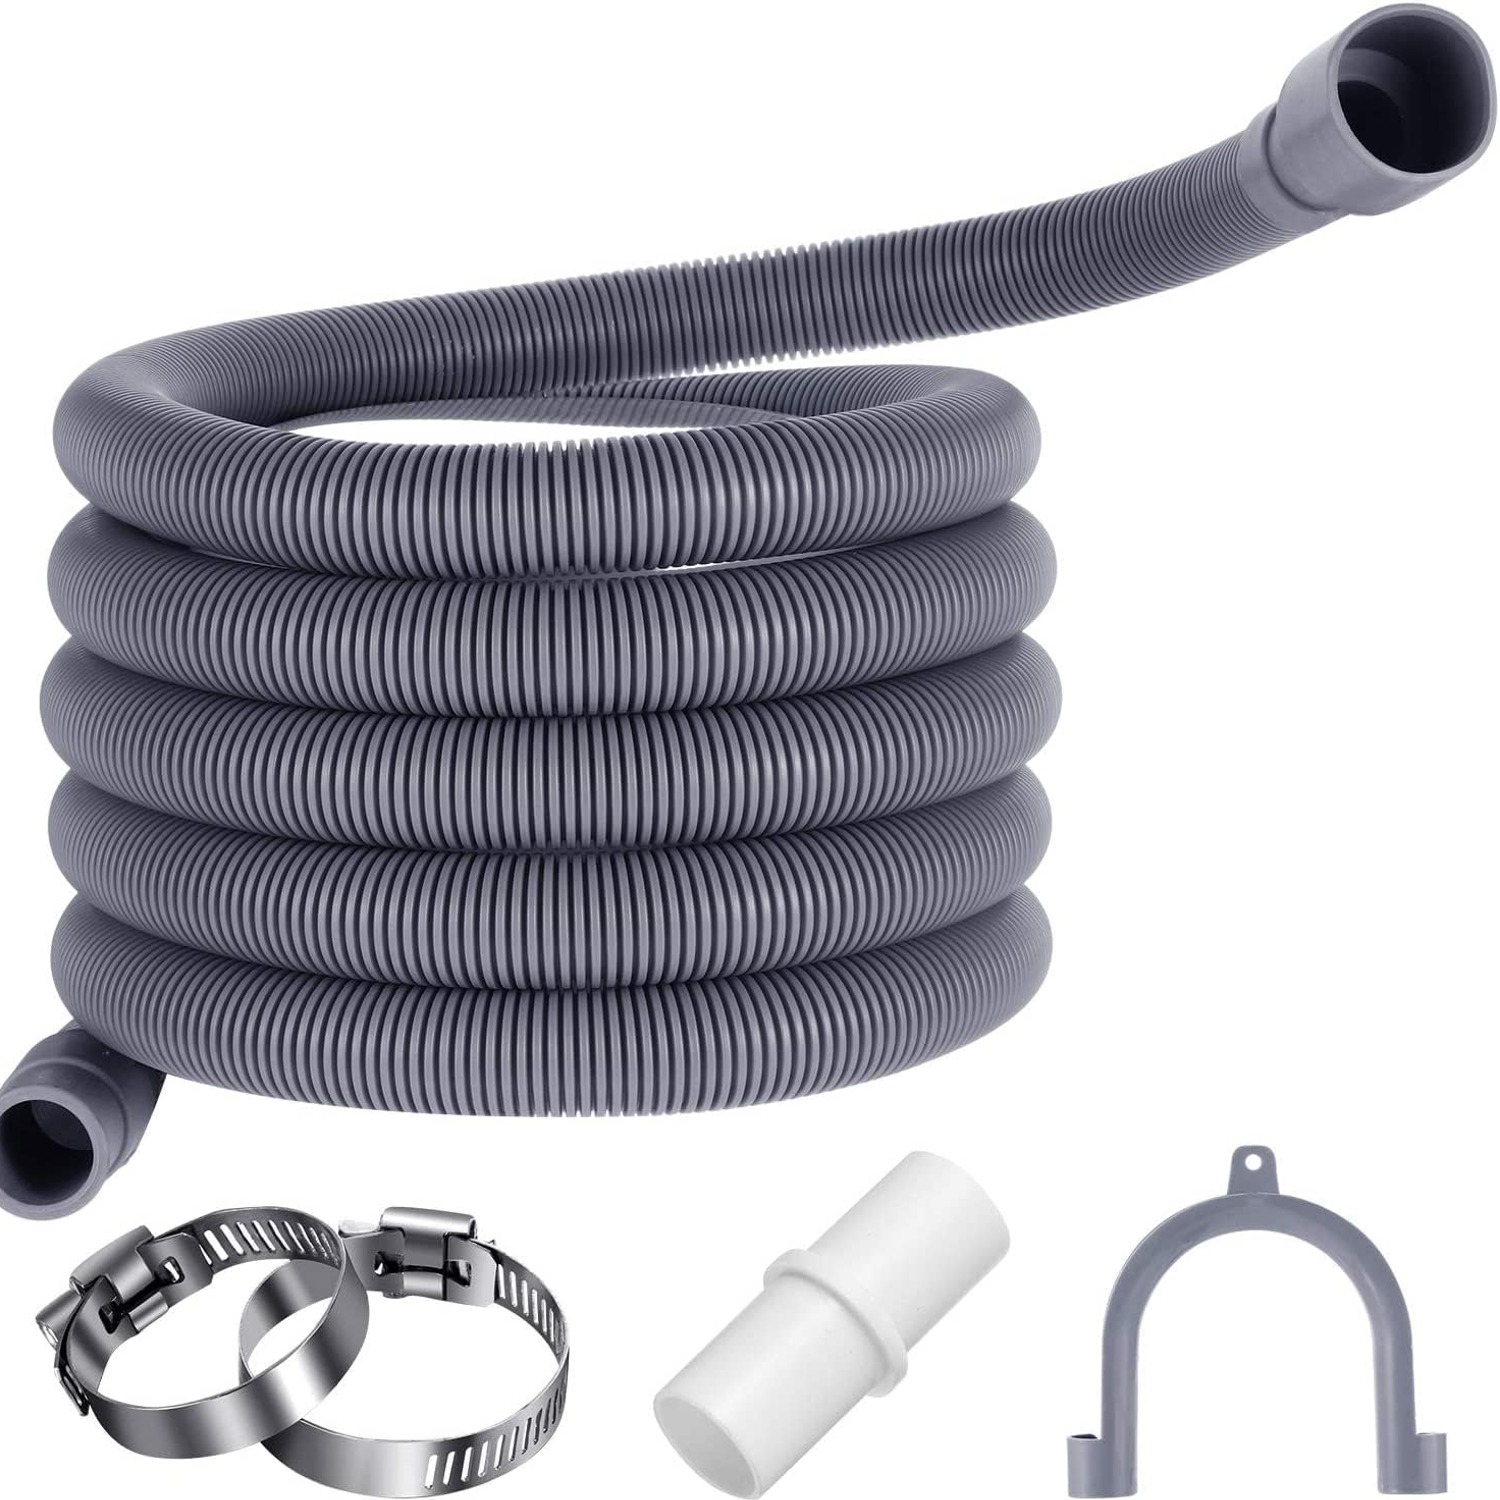
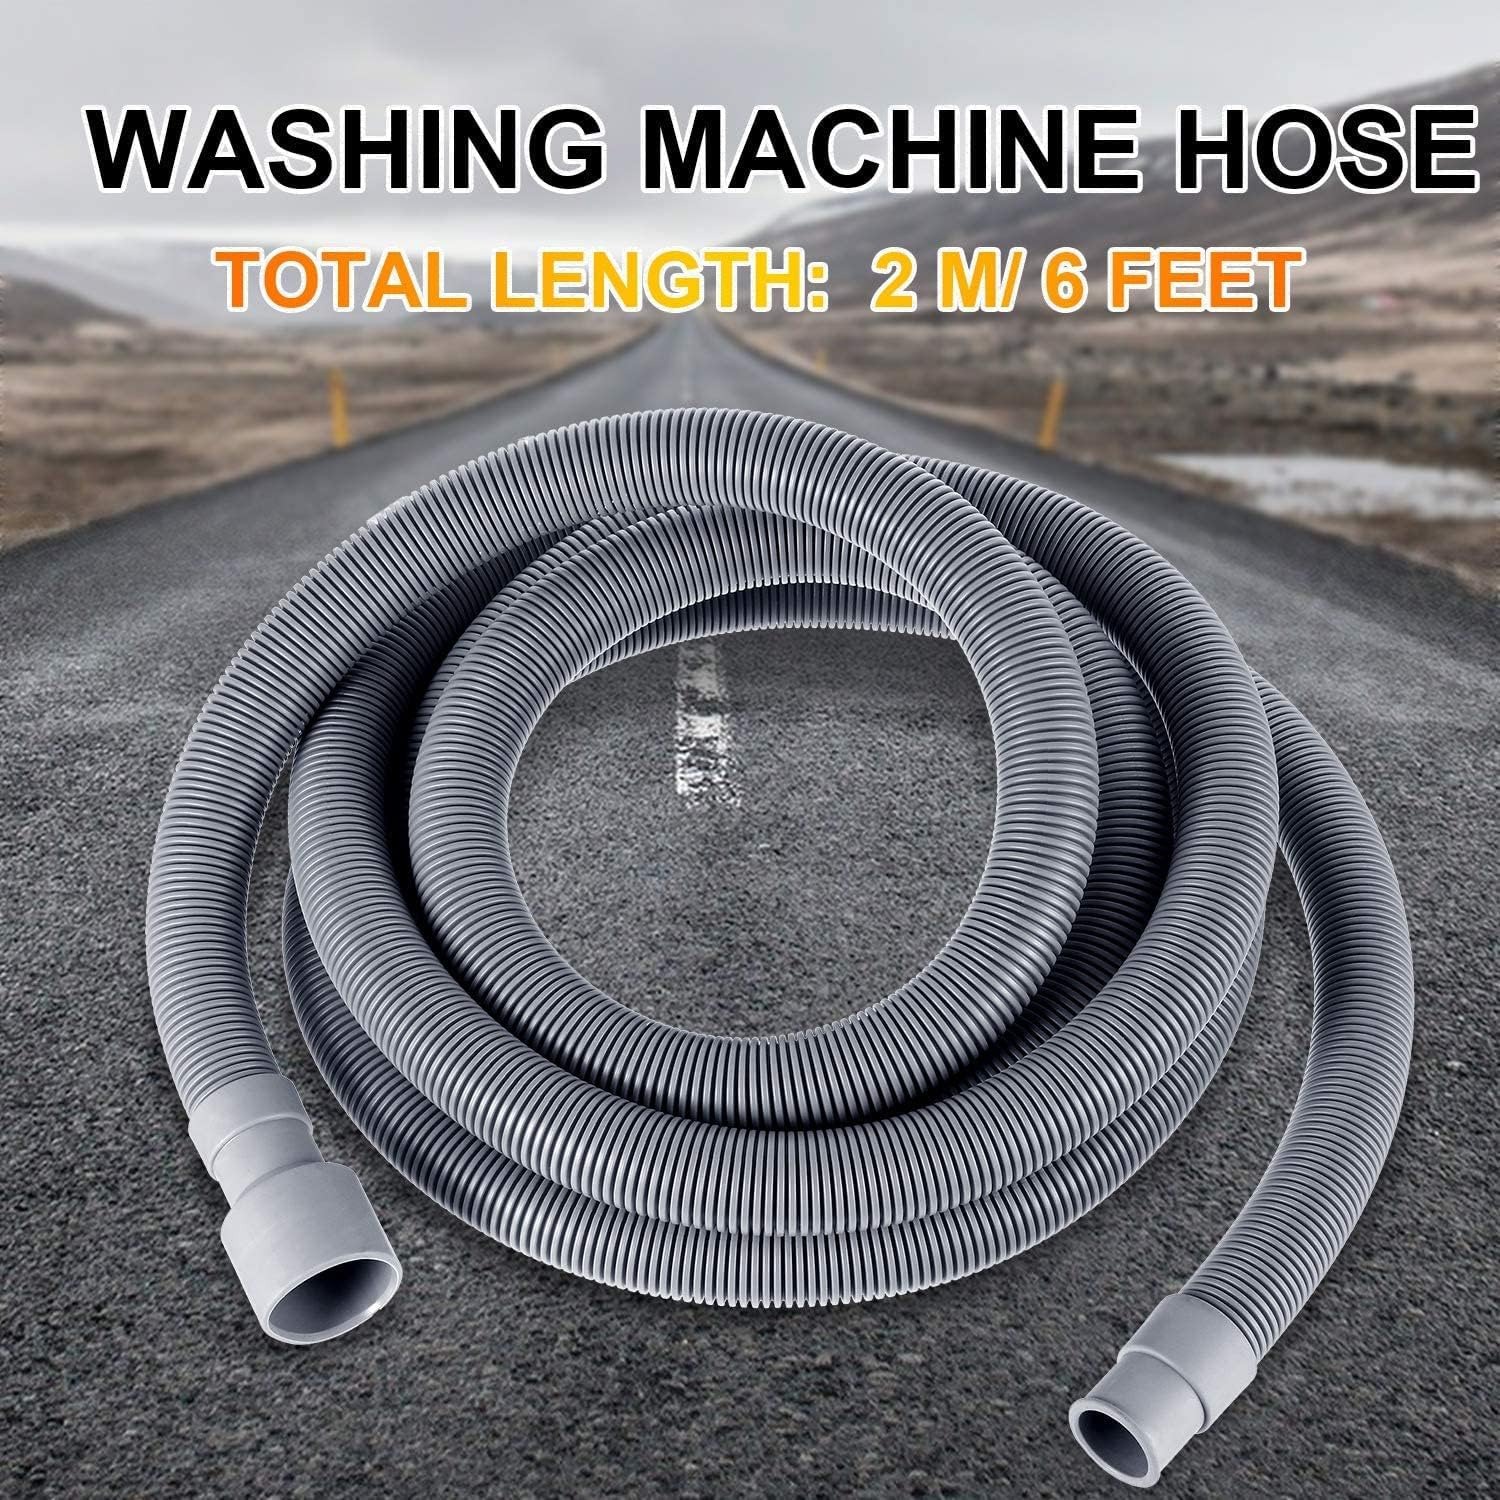
A corrugated washer drain hose 5 foot kit solves two separate problems at once. It gives you fresh, flexible plastic where the old stuff has gone stiff, and it gives you enough length to route the hose sensibly instead of cramming it into whatever gap is left behind the machine.
How a drain hose actually works
Your washer does not drain by gravity alone. There is a pump that pushes waste water out, and it pushes hard. That matters for two reasons.
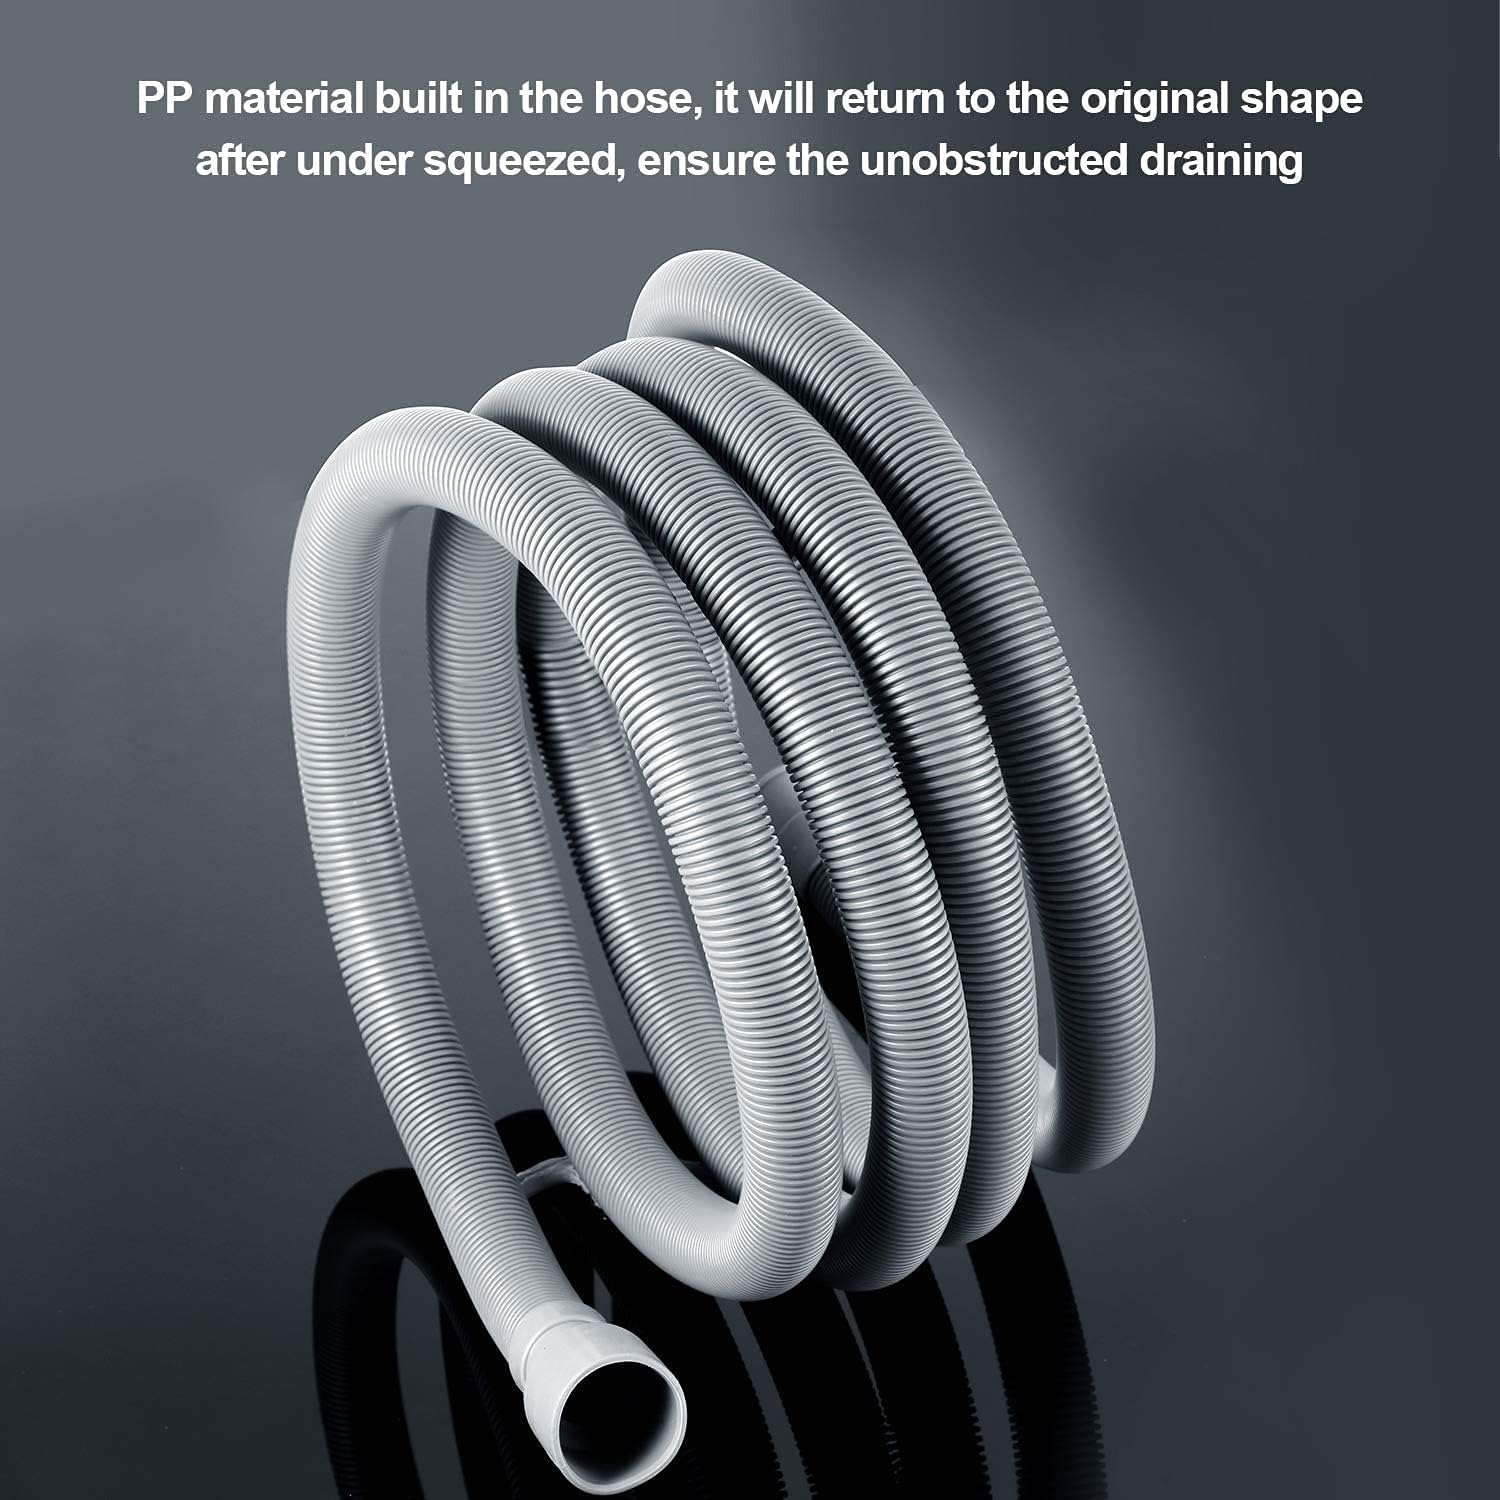
First, the hose has to stay open under that pressure. If the inner bore is pinched anywhere along the run, the pump works against a restriction. You get longer drain cycles, error codes on newer machines, and sometimes water left sitting in the drum. A corrugated wall helps here because the ribs resist collapsing. Bend the hose and it curves rather than folding flat, and when the pressure comes off it springs back toward its original shape.
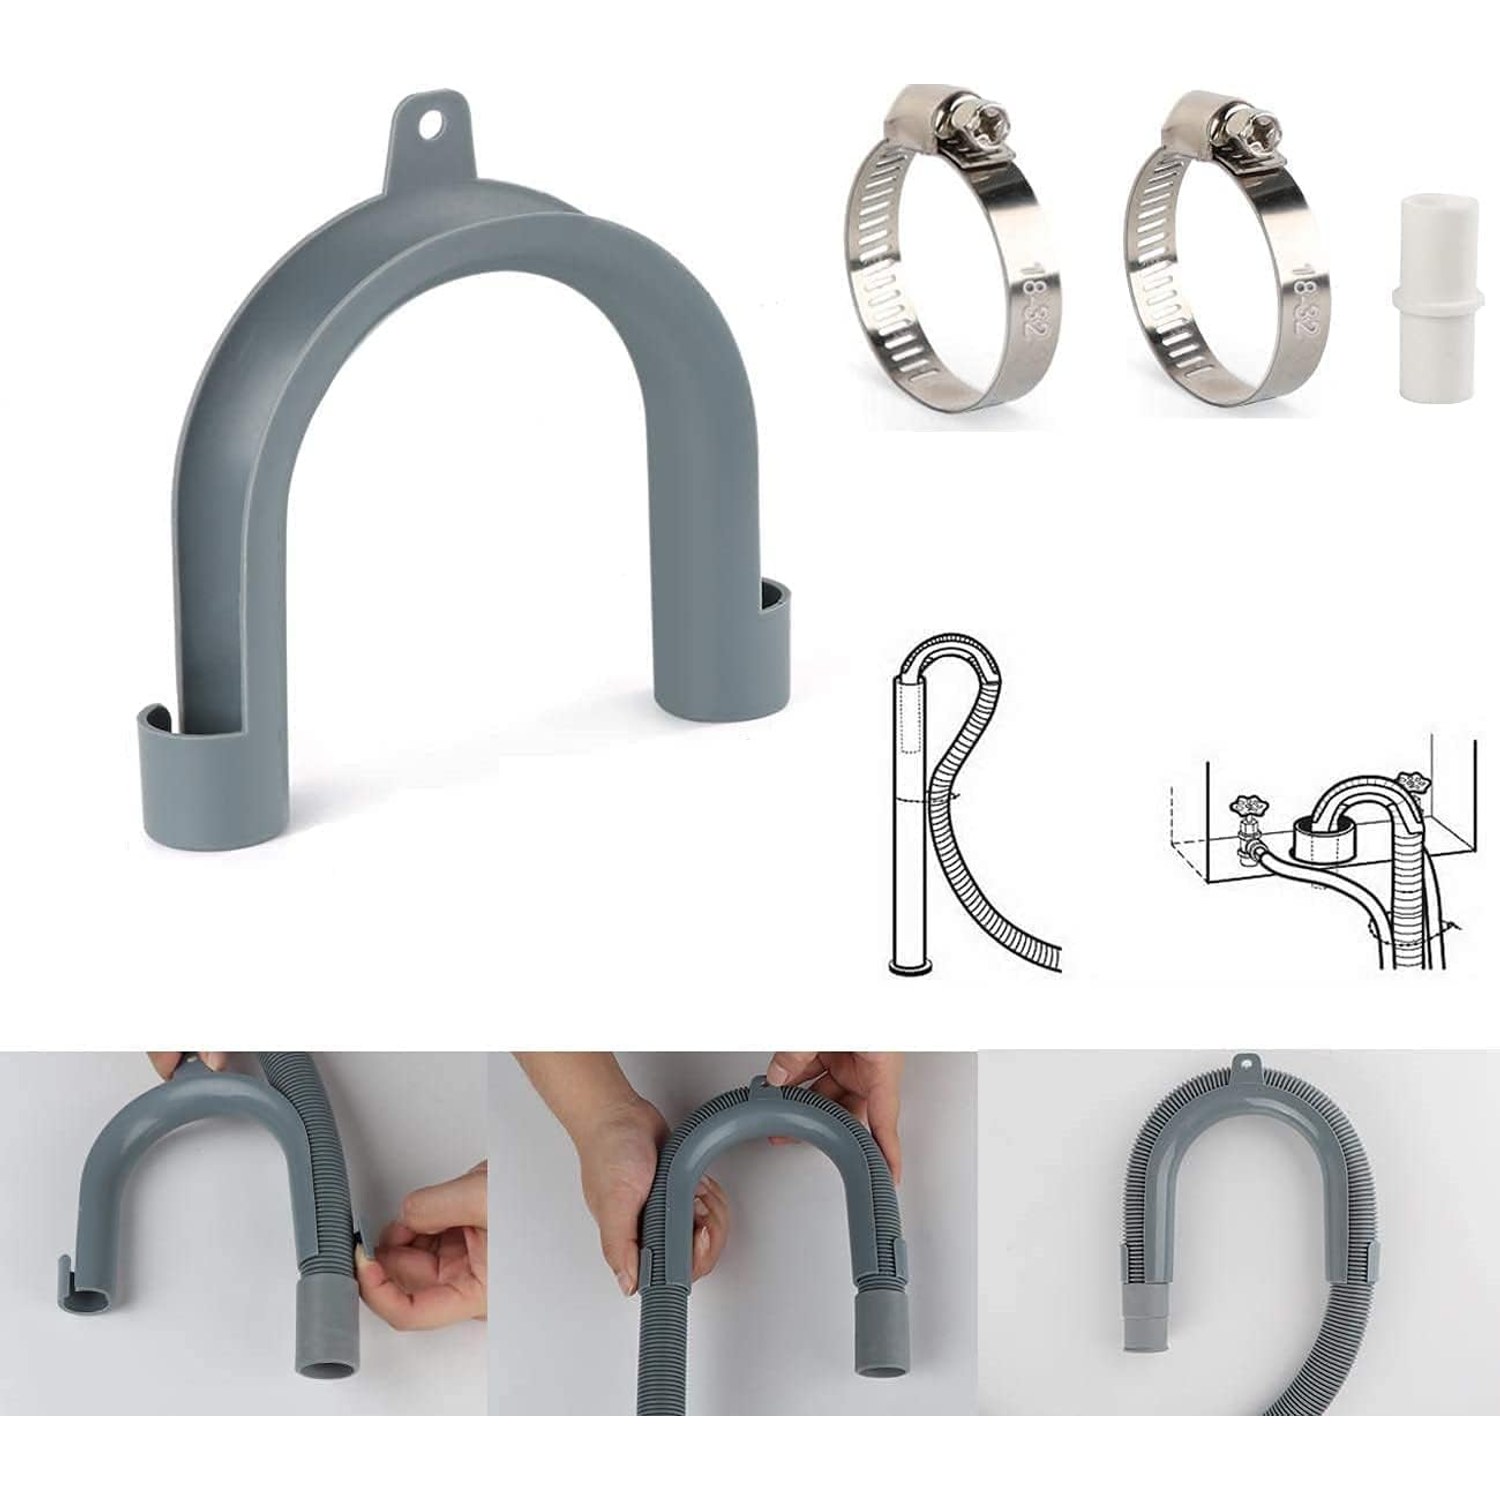
Second, the end of the hose has to stay where you put it. When the pump surges, an unsecured hose end can kick out of a standpipe or off the edge of a tub. That is how you end up with water across the floor from a machine that is working perfectly. The hook hanger in this kit clips onto the hose and makes a U-bend that hangs over the rim, so the end stays aligned with the drain.
There is also a height rule worth knowing. Every washer manual gives a minimum and maximum height for the drain outlet. Too low and water can siphon out of the drum mid-cycle. Too high and you are asking a lot of the pump. Because the hook slides anywhere along the hose, setting the right height is a matter of moving a clip rather than rebuilding your plumbing.
Who this suits
The obvious case is a straight replacement. Your existing hose has a crack, a permanent kink, or a joint that keeps weeping no matter how hard you tighten it. You pull the old one off, fit the new one, clamp it, done.
The second case is reach. People move washers for all sorts of reasons. A renovation shifts the laundry. A machine goes into a cupboard. A rental has the standpipe on the wrong wall. Factory hoses are cut short on purpose, because manufacturers assume the machine sits right next to the drain. Five feet of extra hose gives you options.
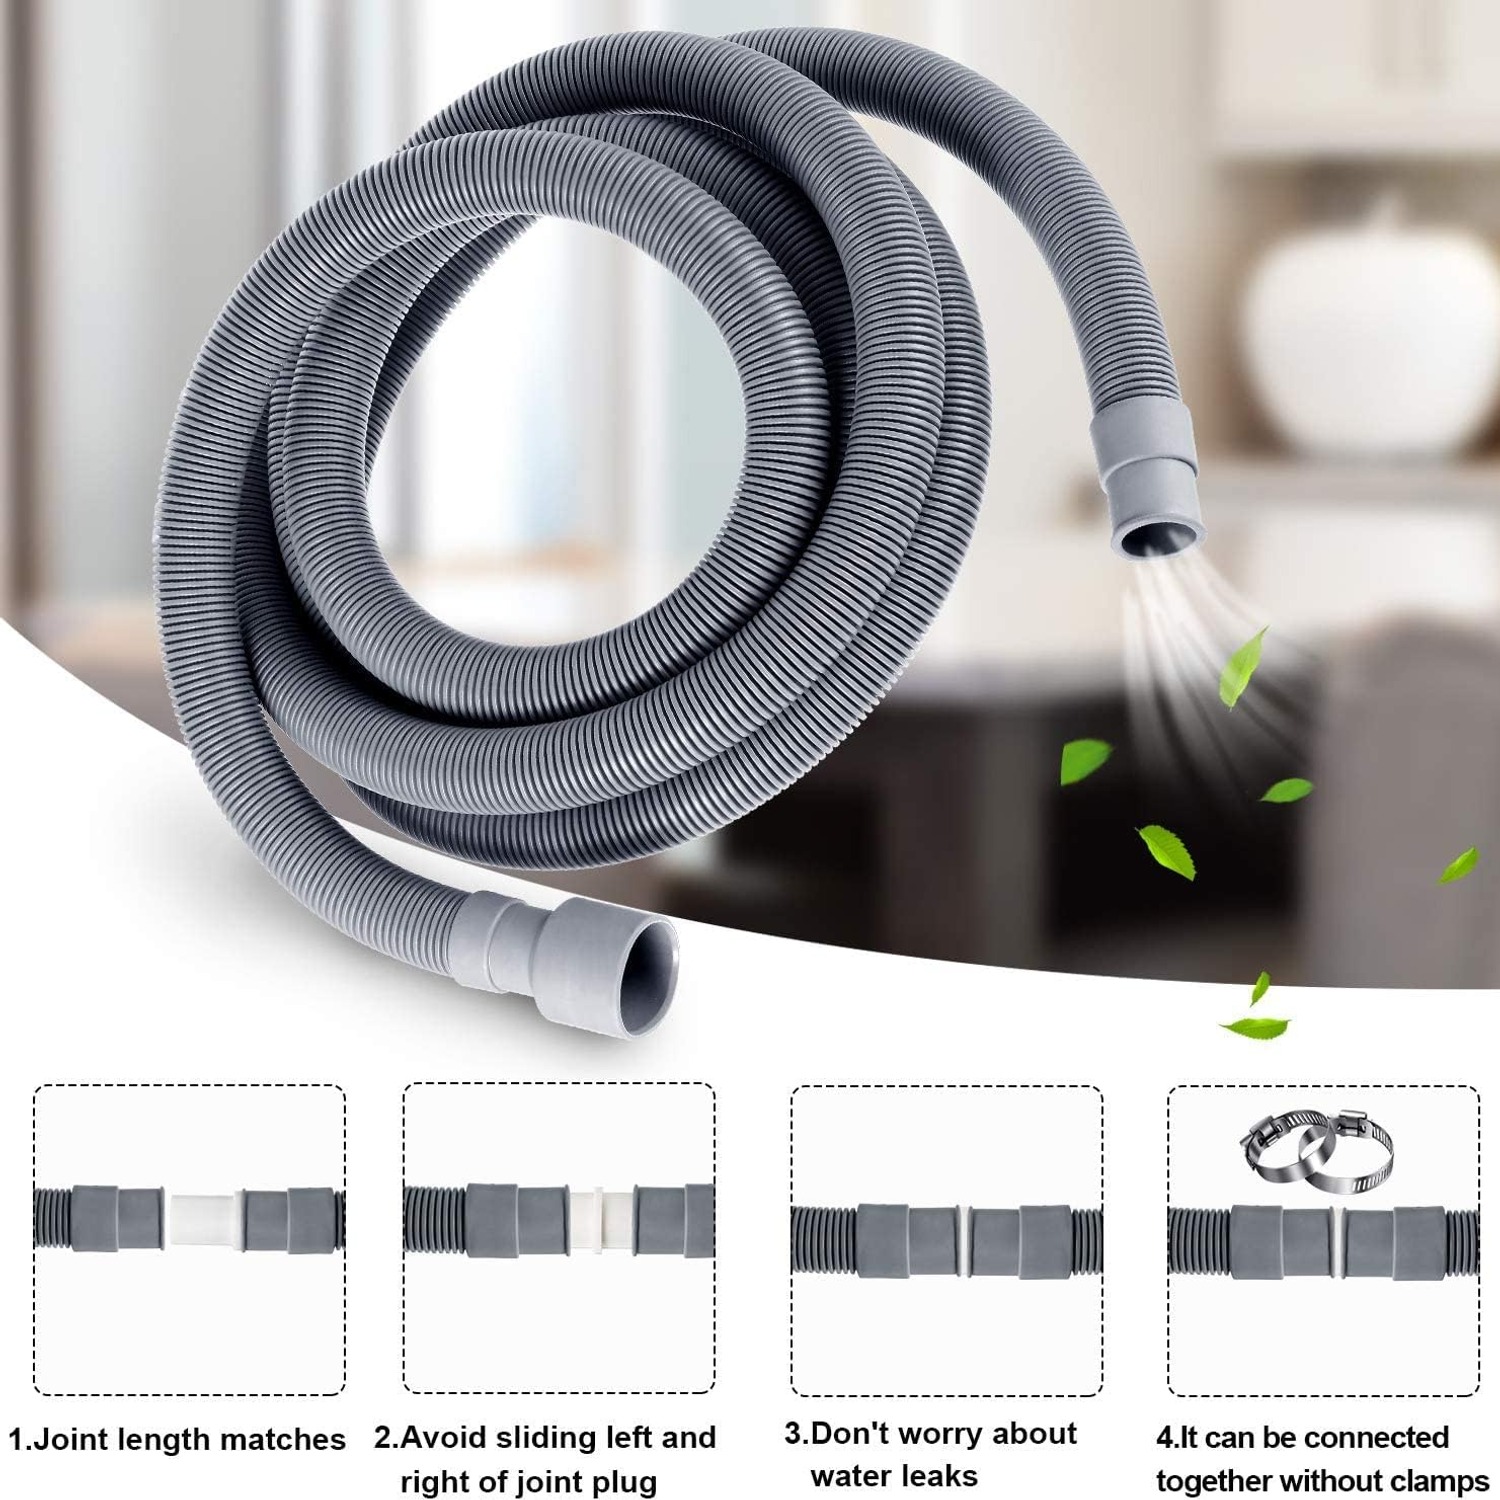
The third case is an extension on top of what you already have. This is the one a lot of people overlook. The white adapter in the kit means you can join this hose to the end of your current one without touching the connection at the pump, which is the fiddly end. If your existing hose is in good condition and you only need more length, that is the lower-risk approach.
And then there are people using it as a dishwasher hose extension kit. Dishwasher drain lines are often a similar diameter, so the same hose and clamps frequently do the job. Measure first, because dishwasher fittings vary more than washer ones.
Choosing the right hose
Start with diameter, not length. Length is easy to fix with an adapter. A hose that will not seat on your outlet is useless.
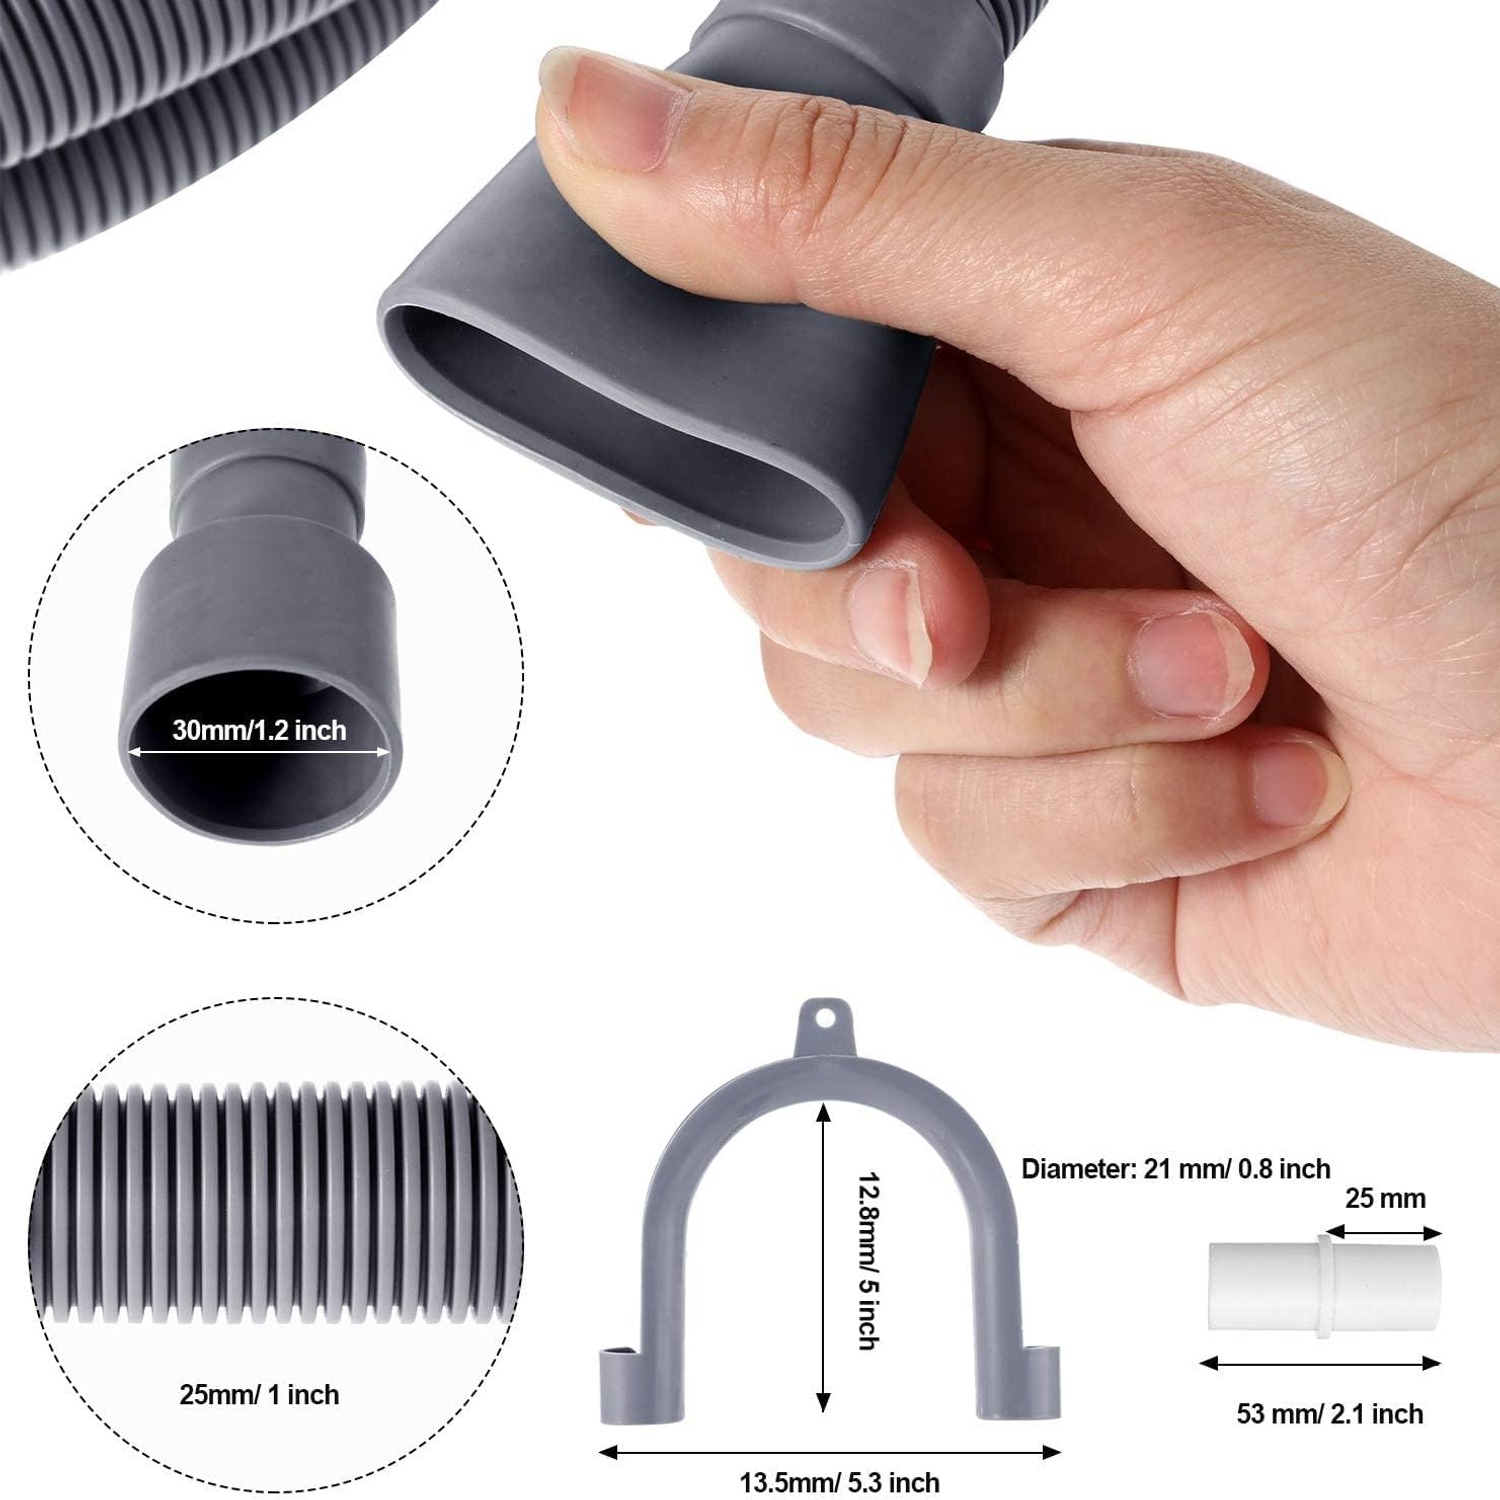
Take a tape measure to the drain spout on the back of your machine and note the outside diameter. Then check the inner opening of the hose end. You want the hose to slide on snugly, with enough grip that a clamp can pull it tight. Corrugated hose ends are often designed to be trimmed to suit, which lets you match a range of spout sizes by cutting back to the right rib.
Next, think about the run. Walk the route from machine to drain and look for sharp corners, tight gaps behind cabinets, and anywhere the machine itself will press against the hose when you slide it back. Those are the spots where kinks form. Buy enough length that you can take a gentle arc instead of a hard right angle.
Material matters less than people think, as long as it is a proper appliance-grade plastic. This hose is polypropylene with a 1.5 mm nominal wall. That thickness is what gives it the body to hold its shape rather than flattening the first time something leans on it.
Finally, check what comes in the box. A hose on its own is half a job. Clamps, an adapter, and something to hold the discharge end are the parts that turn a length of plastic into a working drain line. A kit that includes them saves a second trip to the hardware store.
Fitting it without drama
Pull the power plug and turn off the taps before you start. Then have a towel ready, because the old hose will hold water.
Measure the outlet spout. Trim the new hose end if you need to, cutting square and cleanly between the ribs, and smooth off any rough edge. Push the hose on until it seats fully. Slide a clamp over the joint and tighten it until the hose will not shift when you tug it firmly. Snug, not crushed.
If you are extending rather than replacing, fit the adapter between the old hose end and the new one, and clamp both sides.
Position the hook hanger at the height your manual specifies, hang the end over the standpipe or tub, and make sure the discharge end sits above any standing water so it cannot siphon.
Then run the shortest cycle your machine offers and watch. Do not walk away. Check every joint while the pump is actually running, because that is the only time the hose is under real pressure. Dry joints after a full drain means you are finished.
Keeping it working
Drain hoses need very little, but a small amount of attention goes a long way.
Every few months, when you are cleaning behind the machine anyway, run a hand along the hose. Feel for soft spots, look for surface cracks, and check that the clamps have not loosened with vibration. Retighten if they have.
Once a year or so, it is worth detaching the hose and flushing it with clean water. Lint and detergent residue build up a film inside, and over time that narrows the bore. A decent flow of water from a tap through one end clears most of it.
When you push the machine back into place, take a second to check where the hose is sitting. That single habit prevents most kinks. A hose that has been crushed against a wall for two years will eventually stay crushed, even corrugated ones.
Replace it when the plastic stops feeling flexible, when a kink no longer springs out, or when a joint keeps weeping after you have retightened it properly.
The short version
A drain hose is a cheap part that prevents an expensive mess. If yours is stiff, kinked, cracked, or simply too short for where the machine now lives, replacing it is a twenty-minute job with a screwdriver.
This kit gives you 1.5 metres of corrugated polypropylene hose in white, plus an adapter, clamps, and a movable hook hanger. The ribbed wall resists kinking, the adapter lets you extend without touching the pump end, and the hook keeps the discharge end exactly where you put it.
Measure your outlet spout and the run to your drain before you order. Get those two numbers right and the rest is straightforward.