
The complete guide
The Practical Guide to Downpipe Extensions and Catch Basins
The puddle that never really dries
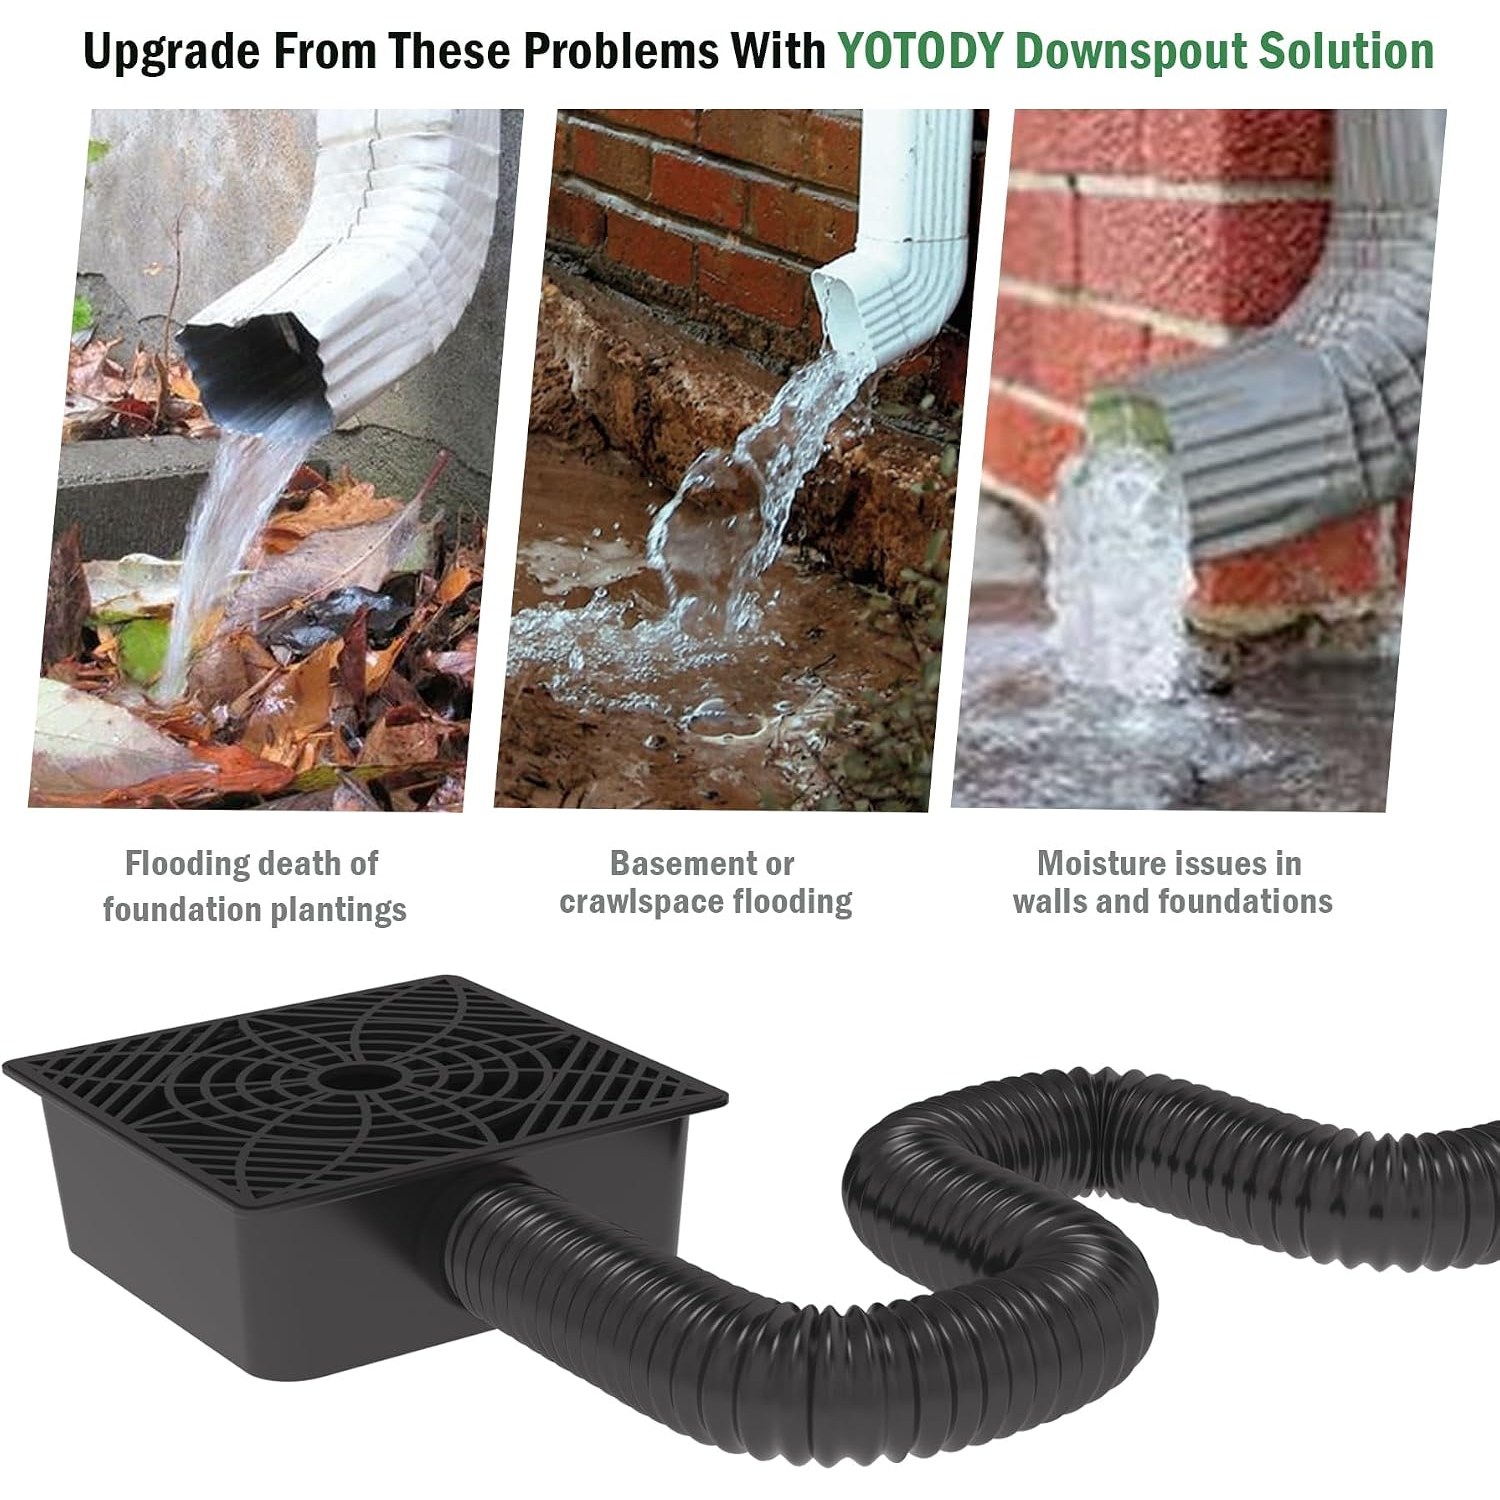
Most houses have at least one spot like it. A downpipe comes down the wall, water dumps out at the bottom, and the ground there never properly recovers. The grass thins out. The soil washes into a small fan shape across the path. After a long wet week, the wall itself starts to look damp at the base.
The downpipe is doing its job. It gets water off the roof and down to ground level fast. What it does not do is take that water anywhere. A roof catches a surprising volume in a single storm, and all of it arrives at one small point. Without something to move it on, that point becomes the weak spot in your yard.
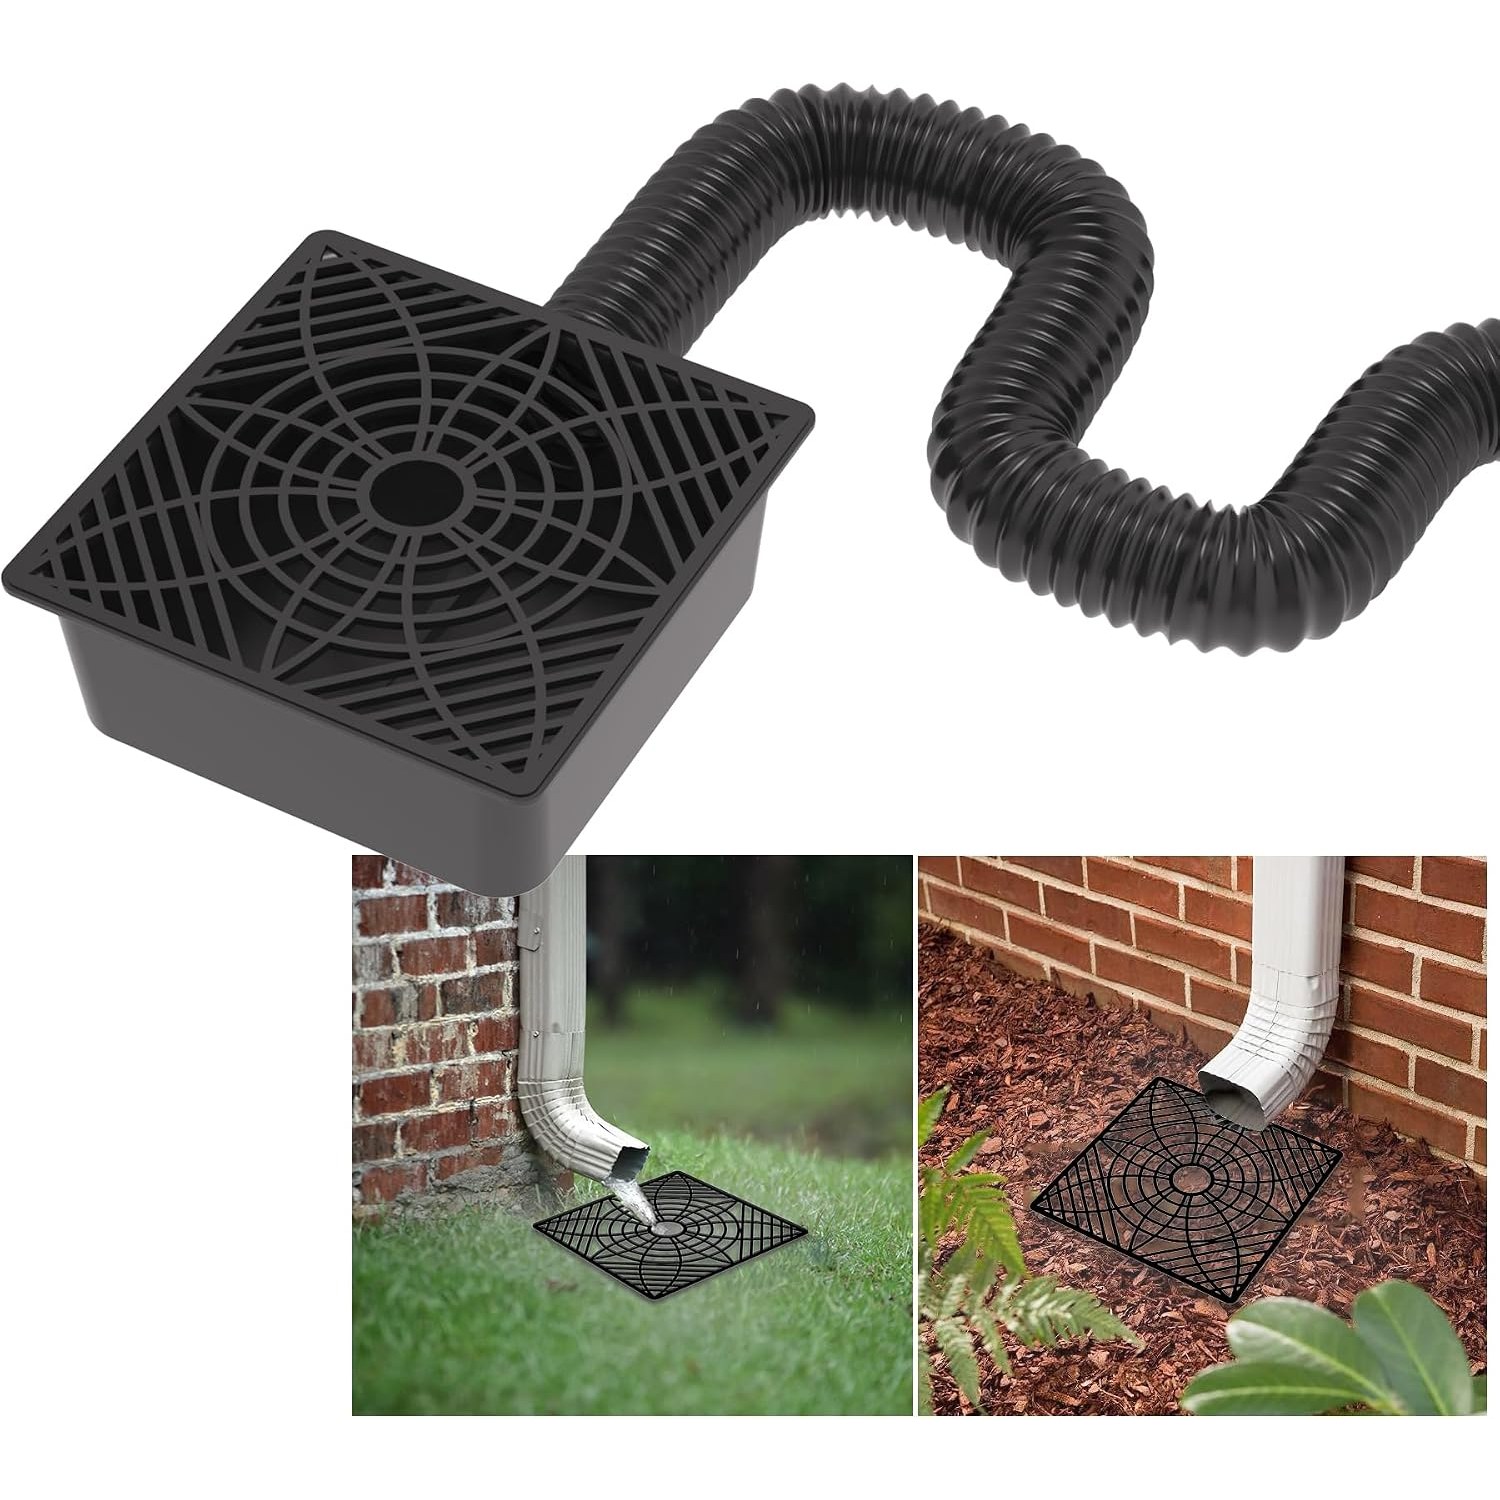
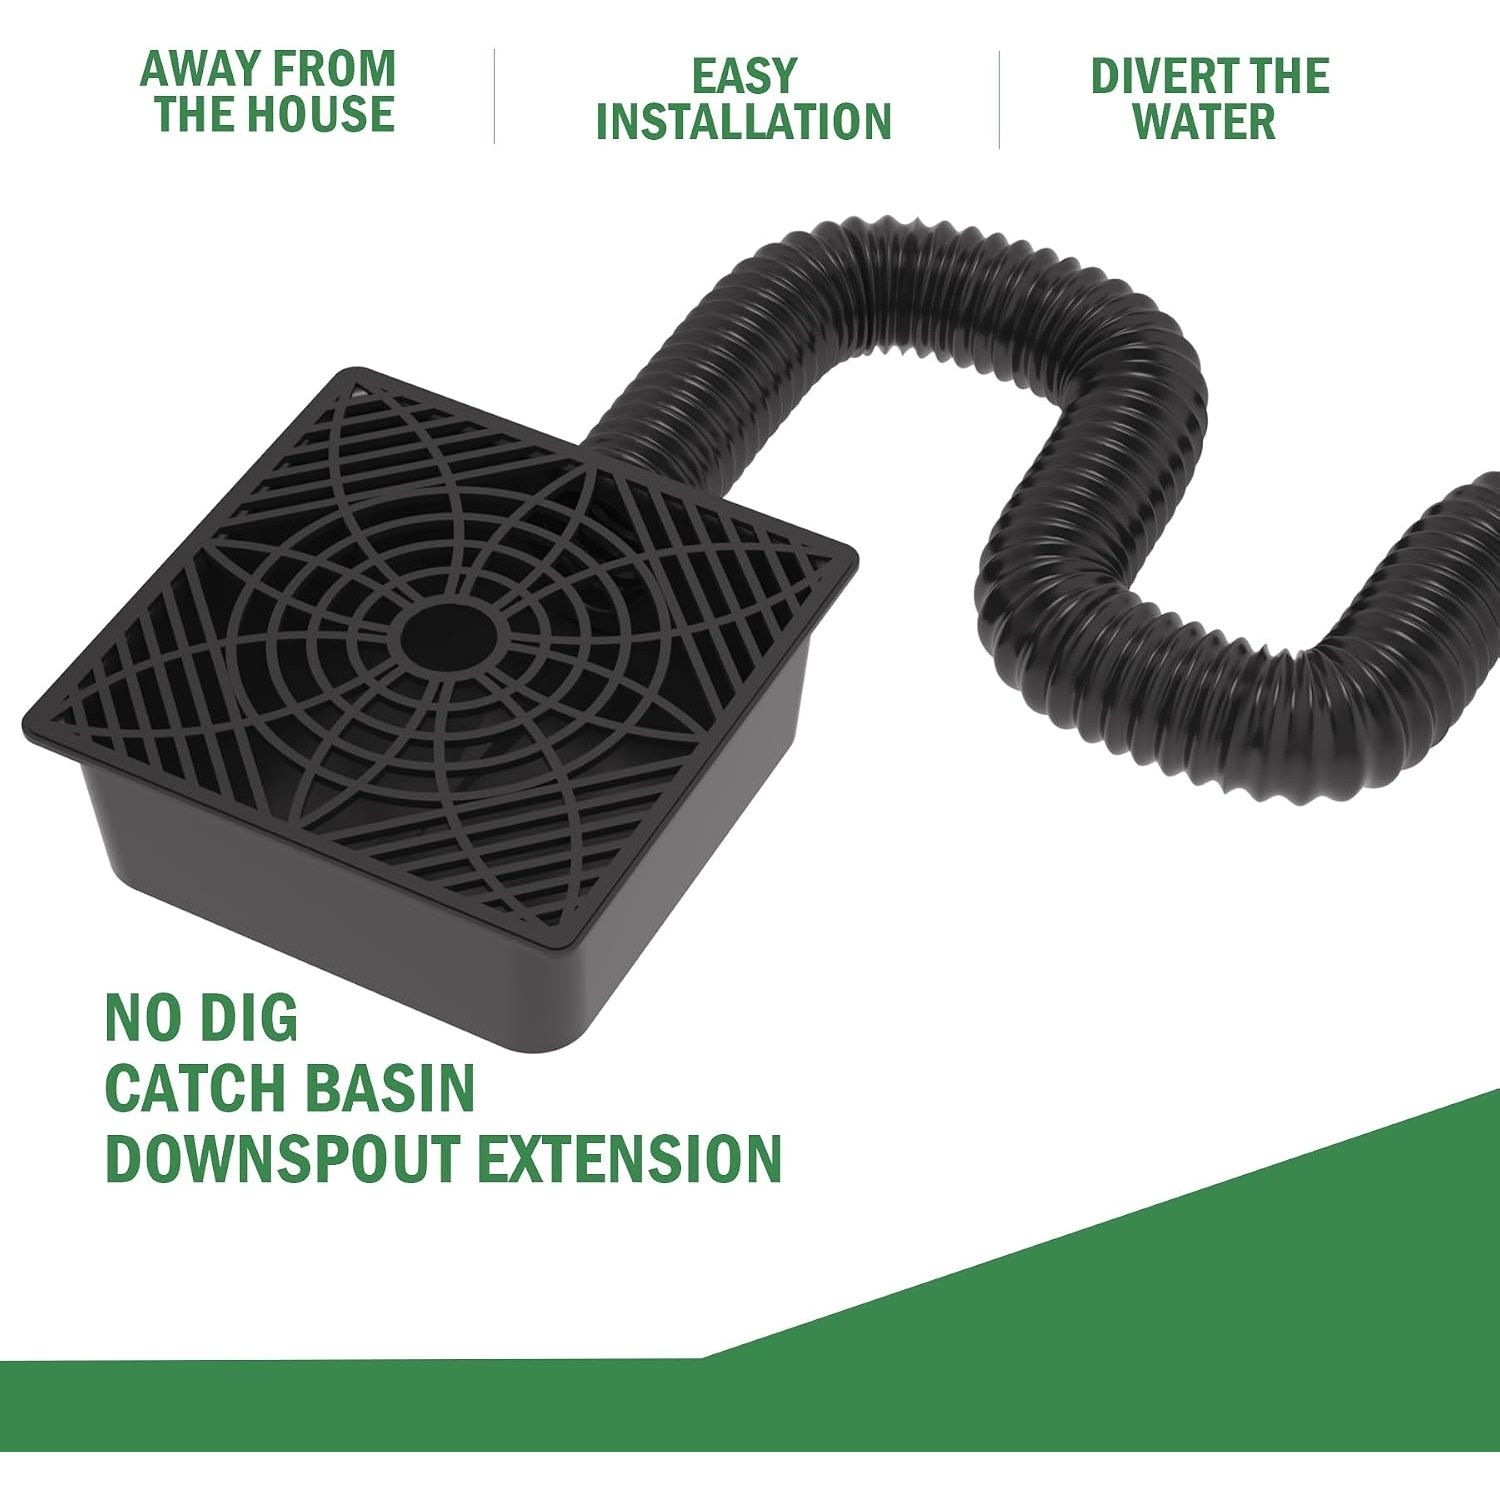
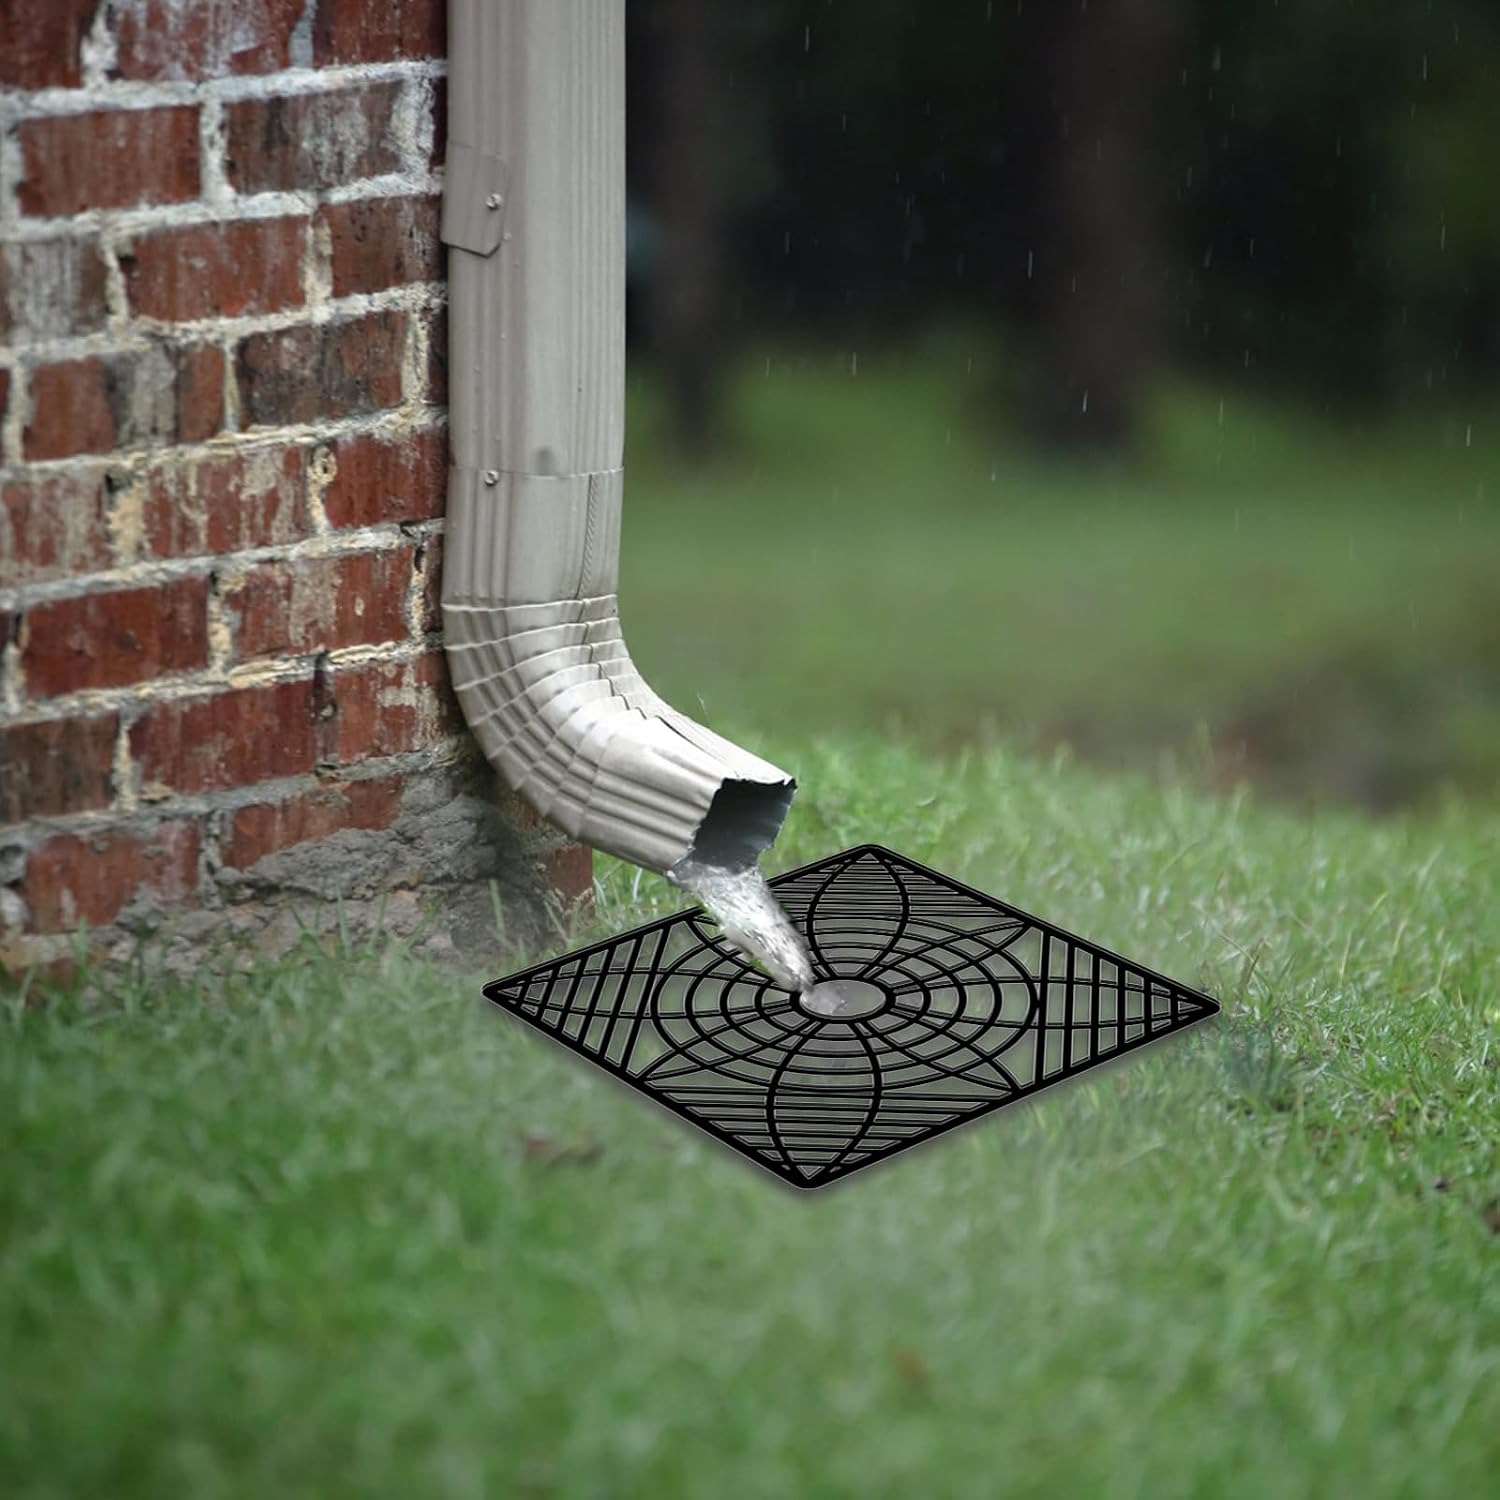
A downpipe extension with catch basin is the simple fix. It is not clever engineering. It is a collection box at the outlet and a flexible pipe that carries the flow a few feet out, somewhere the ground can actually cope with it.
How the kit works
There are two pieces doing the work.
The catch basin sits at the base of the downpipe and gathers the water as it falls. Think of it as a small holding point that catches the flow and funnels it into one outlet. It is a low profile unit, which is the part that saves you the most effort. Traditional drainage pits need a hole dug to depth, usually with a shovel and a lot of swearing. This one sits shallow.
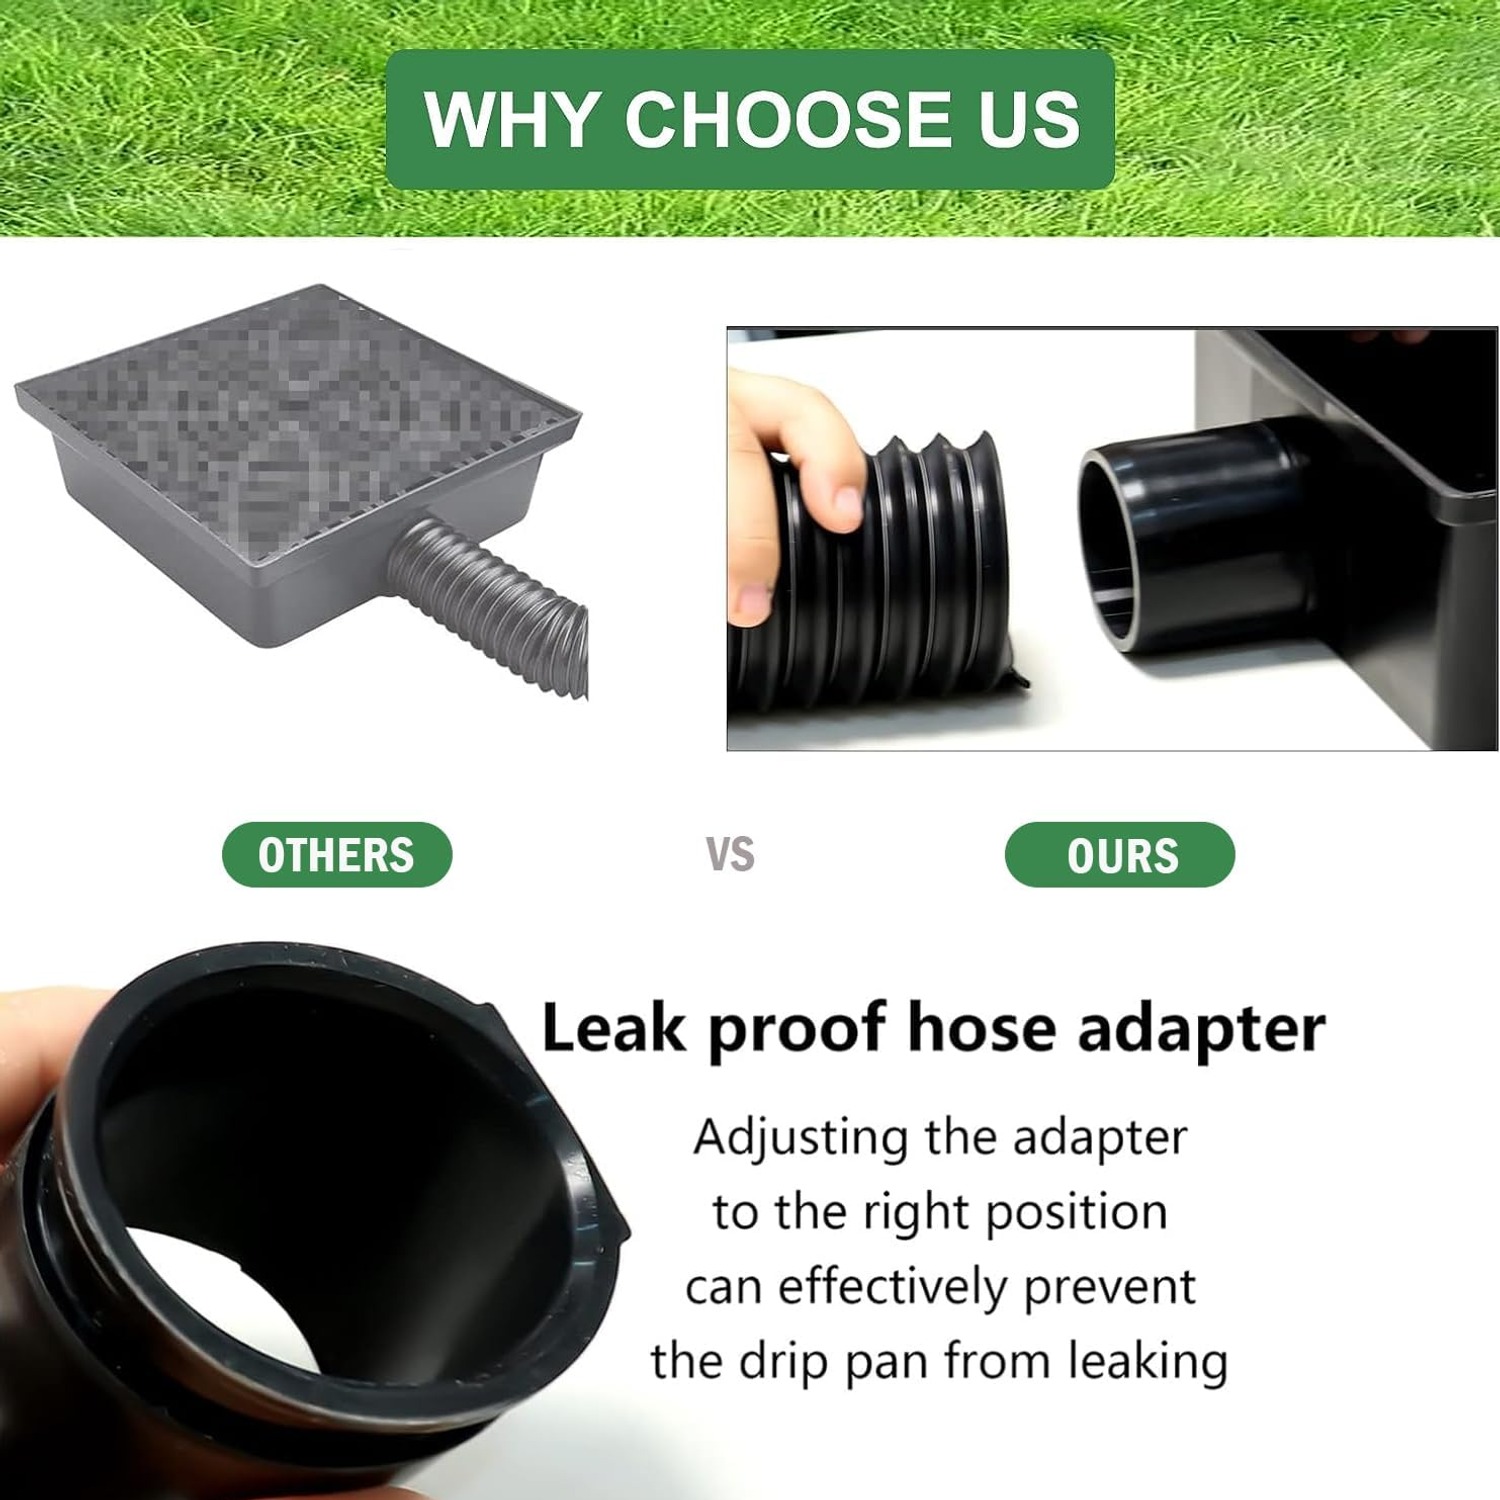
From the basin, a corrugated flexible pipe carries the water away. It pushes into an adapter hole on the basin by hand, no tools and no clamps. That push fit is what stops water seeping out underneath the basin instead of running down the pipe, which is a common annoyance with cheaper setups.
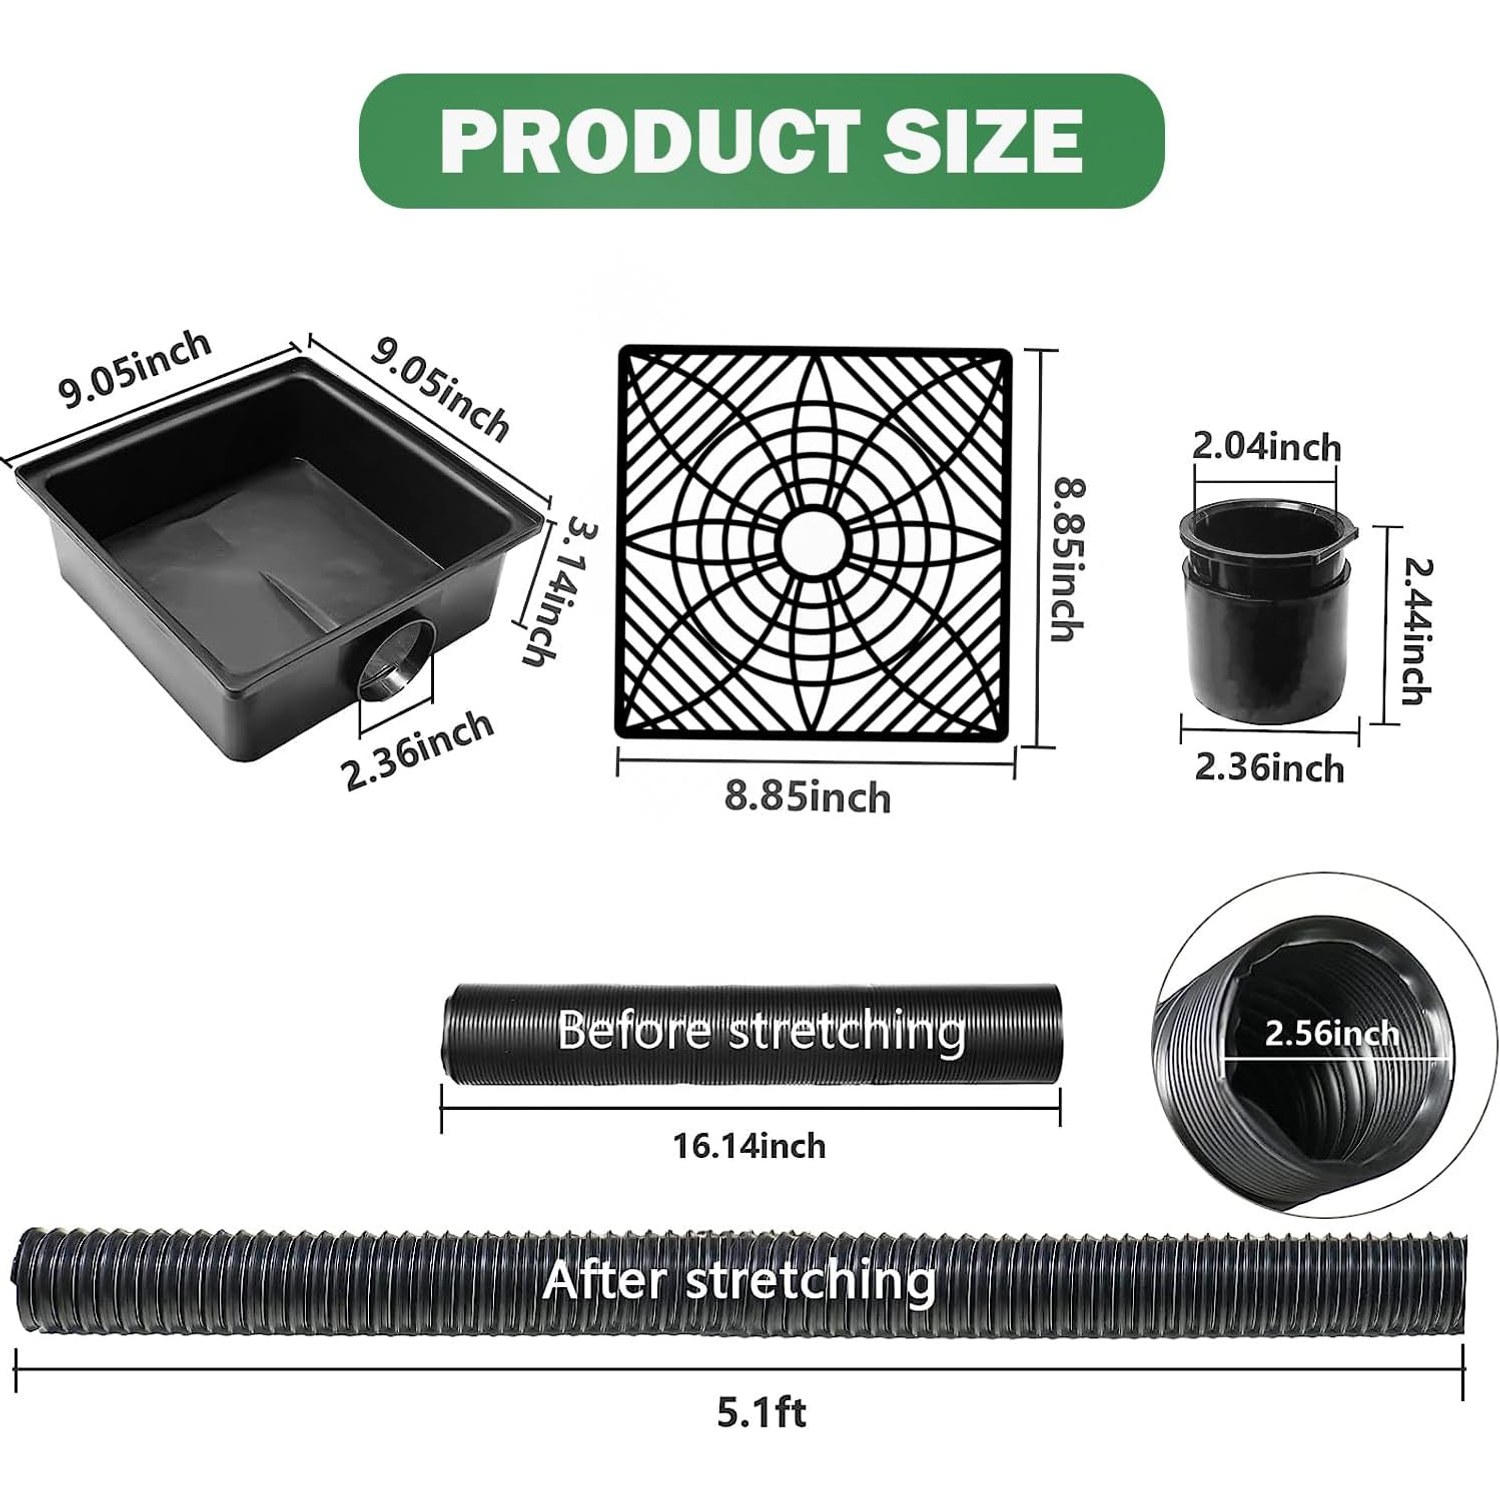
The pipe stretches from roughly 1.34 feet compressed to 5.1 feet fully extended. You set the reach on site. If your garden bed is two feet away, leave the pipe mostly compressed. If you need to clear a path and reach a lawn edge, pull it out to full length.
Why corrugated pipe matters
The ribbed wall on the pipe is not decoration. It is what lets the pipe bend around a corner, lift over a tree root, or follow a slope without folding shut. A smooth pipe kinks when you bend it, and a kinked pipe stops draining.
The corrugations also mean the pipe mostly holds whatever shape you set. Push it into a curve and it stays curved, rather than springing back and pulling the basin out of position. That is useful when you are working around a garden bed or a paved edge.
One more benefit. The ribbed profile sits happily under a shallow layer of soil or mulch. If you want the drainage out of sight, you can cover it over. Keep the cover shallow so you can still lift it for cleaning, and avoid running it under anything that takes weight.
Who this suits
If you have a soggy strip under a downpipe, this is for you. Same goes if you have a garden bed that keeps eroding at one end, or a path that floods in the same spot every time.
Rain chains are another common case. A rain chain looks great, but the water lands in a loose splatter rather than a controlled stream. Putting a basin under the chain gives the water somewhere defined to land, and the pipe takes it from there. The splash problem goes away.
It also suits renters and anyone who does not want to commit to permanent drainage work. Nothing here is fixed to the house. The basin lifts out, the pipe compresses, and the whole thing can come with you.
Where it is less suited is a large scale drainage problem. If your yard slopes toward the house, or you have water coming from several directions, a few feet of extension will not solve it. That is a grading and civil drainage job. This product handles roof runoff from one downpipe, and it handles it well.
Choosing the right setup
Start by measuring your downpipe outlet. The kit is described as suiting most residential downpipes, including rectangular and round profiles. Standard homes usually fit without fuss, but older houses and custom metalwork can throw up odd sizes. Two minutes with a tape measure saves a return.
Next, work out where the water should go. Walk the area after rain and look for where the ground naturally drains. A garden bed, a mulched strip, or a gravel area all absorb water well. Lawn works, though a heavy discharge in one spot will wear a patch over time.
Then check the fall. Water moves downhill. The discharge end of the pipe needs to sit no higher than the basin, ideally lower. On a flat block this takes some care. A slight slope is enough, you do not need a dramatic drop.
Finally, think about the run length. Shorter is usually better, because a shorter pipe drains faster and clogs less. Only extend to the full 5.1 feet if you actually need the reach.
Installing it without fuss
Clear the ground at the base of the downpipe and level it roughly so the basin sits flat. A basin tilted backward will pool water instead of draining it.
Position the basin under the outlet, then push the hose into the adapter hole. Give it a firm press so it seats properly. Lay the pipe out along your chosen route, setting any bends you need as you go.
Hold things in place. The kit is light, 0.87 kg all up, so wind and a strong flow of water can shift it. A couple of garden pegs over the pipe, or a paver sitting on the basin lip, keeps everything where you put it.
Then test it. Run a hose into the downpipe and watch what happens. You want the water travelling the full length and exiting cleanly, with no backup at the basin and no seeping at the join. If it pools, check your fall. If it seeps, reseat the hose.
Keeping it working
Maintenance is light but not optional. Leaves, grit, and roof sediment all end up in the basin eventually, and a blocked basin will overflow right back where you did not want it.
Lift the basin or its grate after big storms and scoop out whatever has collected. Flush the pipe with a garden hose now and then to push sediment out the far end. It takes a minute.
At the start of each wet season, check that the hose is still firmly in the adapter hole and that no part of the pipe has kinked or crushed. If you have gutter guards upstream, far less debris will reach the basin, which makes the whole system easier to live with.
In freezing climates, water left standing in surface drainage can freeze. Many people compress and store the pipe over winter, then set it back up in spring. Keep it out of harsh direct sun when stored, which helps the plastic last.
The short version
A downpipe extension with catch basin solves one problem properly. It takes the water that dumps at the base of your wall and moves it somewhere that can handle it.
This kit uses a shallow basin so you skip the trenching, and a corrugated pipe that extends from about 1.34 feet to 5.1 feet so you can set the run on site. It fits most residential downpipe outlets, pushes together by hand, and weighs under a kilogram.
Measure your outlet, pick a discharge spot with some fall to it, peg the pipe down, and clear the basin after storms. Do that and the wet patch under your downpipe stops being a yearly complaint.